Creating the Layout for My Room In Unreal
Now, that I have come up with the idea of creating a traditional Japanese room for this environment I need to come up with a layout and what I mean by this is where all of the objects that I am going to include will go in the room and the objects I am going to include in this room are Shoji, lanterns and tatami mats and lastly my hero asset.
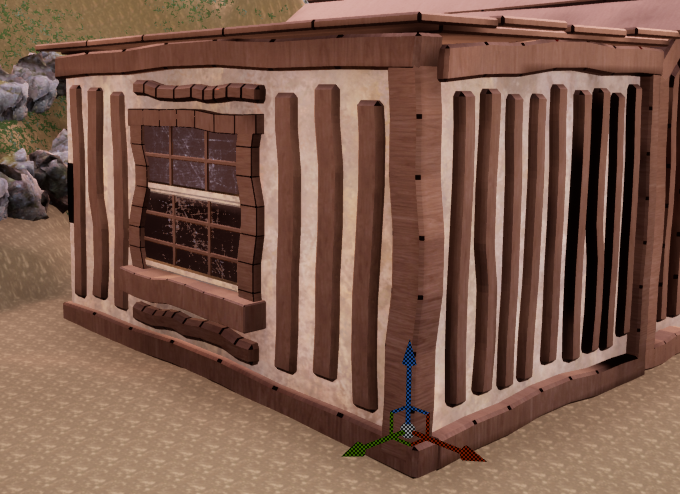
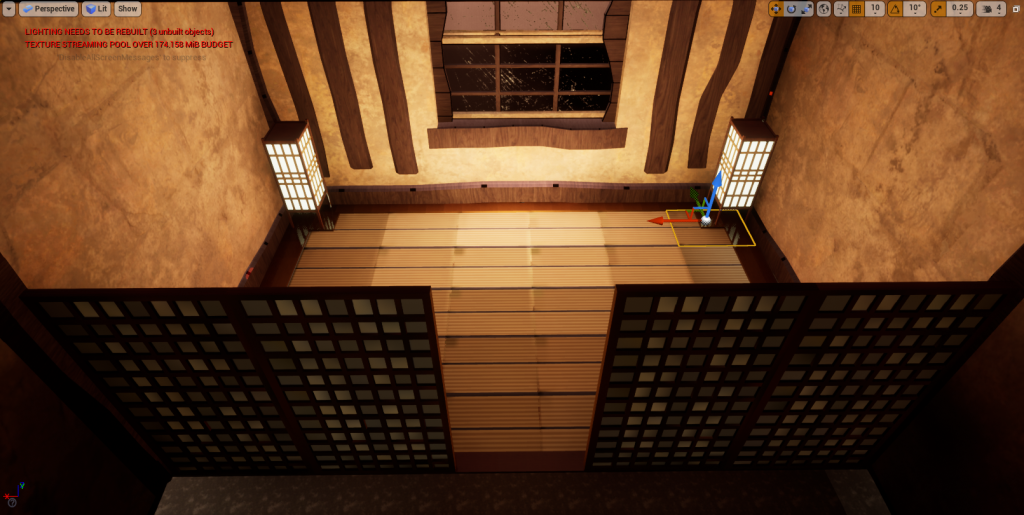
Firstly, to come up with the layout of the room I opened up the Unreal project that contained the building which was made by another group member. And in this building is where I would be adding my room and the reason I did this is that I needed to know the size of the building and this would tell me how large I could make this room and below you can see the area that I was working with.
Importing Pre-Made Assets and Putting Models Back Together
Now, that I knew how large the room could be, I started to import the premade assets that I was doing to use for the room to do this firstly I downloaded the models from SketchFab which is where I got these models from and once they were downloaded I extracted them from the zip files so they could become useable in Unreal.
Then I simply extracted the folder into the content browser in Unreal then it will import them into Unreal and I just have to go to the material editor to apply the textures to the material that Unreal will make by default for that model.
However, not all of the models were this simple to import and they required more work to look as intended this was the case with the Lantern model as this model was split into different parts and I had to build it back together in Unreal and below you can see what this looks like in the content browser.

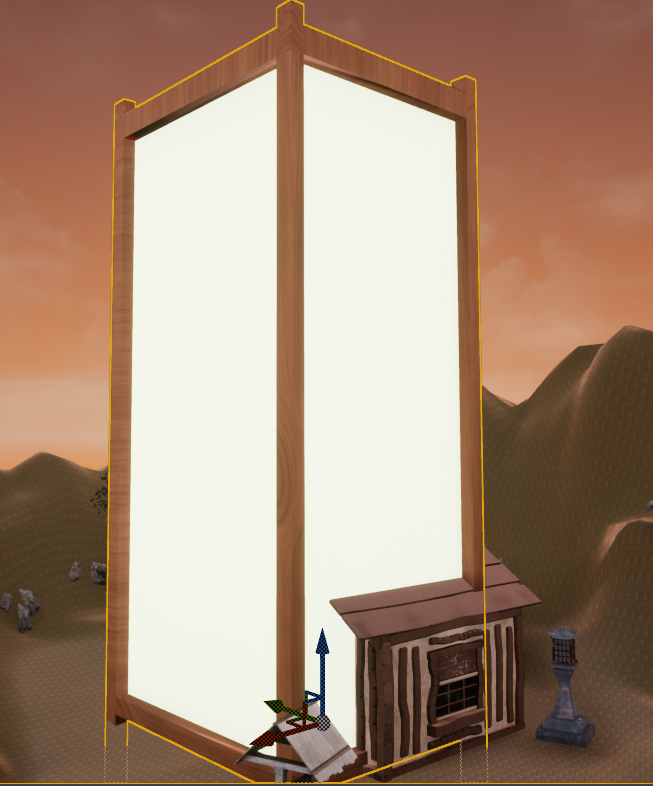
To put the Lantern back together the first thing that I needed to do is import the base of the Lantern which is called Pcube15 into the scene/level in Unreal however when I import the Lantern will appear too large.
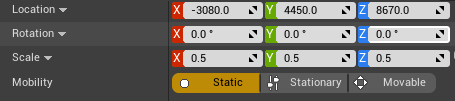
I need to scale it down and to do this I click on the object and on the right side of the UI there will be a section which will allow you to change variables of the object such as the location, the rotation and lastly the scale of the object and to change the scale of an object you can just enter the amount to increase or decrease the scale of the object on that axis and I set the Lantern to 0.5 on every axis.
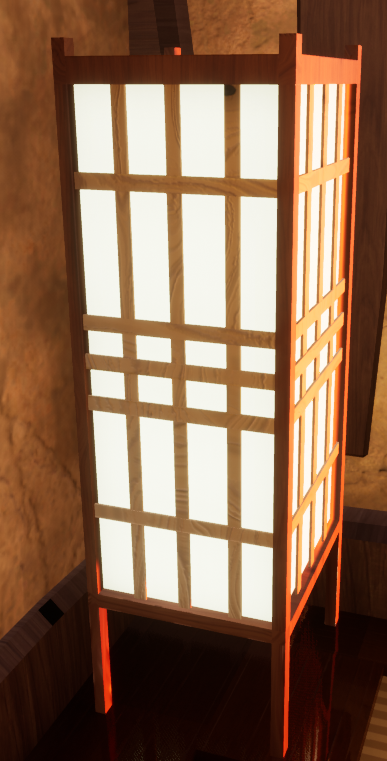
Now that I set the Lantern to a more reasonable size I just need to add the other parts to the base of the Lantern and to do this I will drag them into the scene/level in Unreal and scale them down to the same size as the base of the model and line them up to where they suppose to go and below you can see what the final result looks like.
However, this isn’t the last thing I am doing with this model at the moment there will still be considered separate pieces so if wanted to move it around or make another one I would have to select all of the individual pieces to do that.
I am doing to merge the pieces together so they will become one object and to do this I select all of the pieces that I want to merge together in the outliner then go to the window button on the left side of the UI and this will open a drop-down menu and scroll down until you find the developer tools tab and this will open another drop-down menu and select the merge actors option.
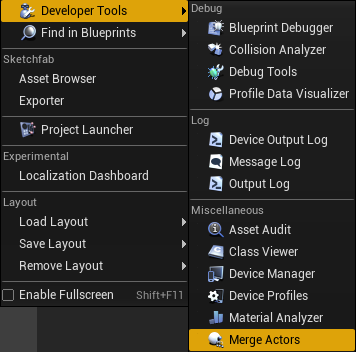
Lastly, this will open a new window confirming if you want to merge this actors/objects object and where you want to save the merged object and was you have confirmed these are the objects you want to merge together just click on the merge actors button and it will merge the objects together.
Flattening The Terrain
While adding objects to the floor such as the tatami mats parts of them were clipping into the ground and the reason for this is the terrain isn’t flat and is uneven below you can see what this looks like this.

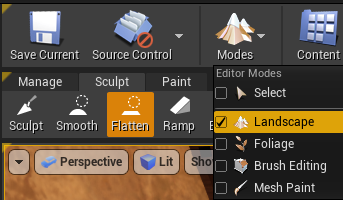
To fix this, I need to use the flatten option in the landscape tool to use this tool you need to go to the top of the UI where there is a mode button and by selecting this button an drop-down menu will appear which will have a couple of options which include foliage, brush editing, mesh paint. Lastly, the landscape option which is the one I will be using when you select this option a new menu will appear I will go to the sculpt tab and select the flatten option how this tool works is that acts as a brush and just hold down the left mouse button where you to flat the terrain and it will become flattered.
The General Layout of the Room
Now, with all of that way I am going to look at the general layout of the room that I have created so firstly all around the edges of the room is a wooden floor and the reason I did this is that I wanted to match the dark wood that is on the walls of the building so I used a dark wood colour for this part of the floor and on the rest of the floor they are tatami mats which are there to match the theme of Edo Period Japan and in the two corners at the back of the room I have two lanterns which are made in the style of traditional Japanese to match the rest of the room and lastly at the front of the room I have placed 4 Shoji which act as the doors to this room and they fit with the rest of theme.