Mouth & Ears Sculpting
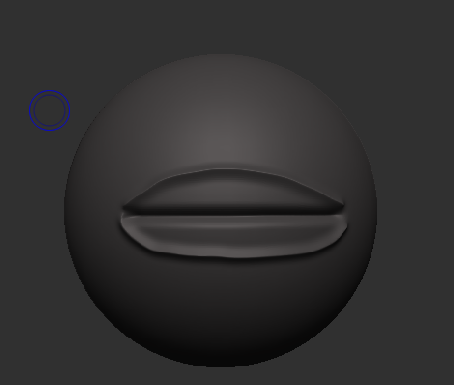
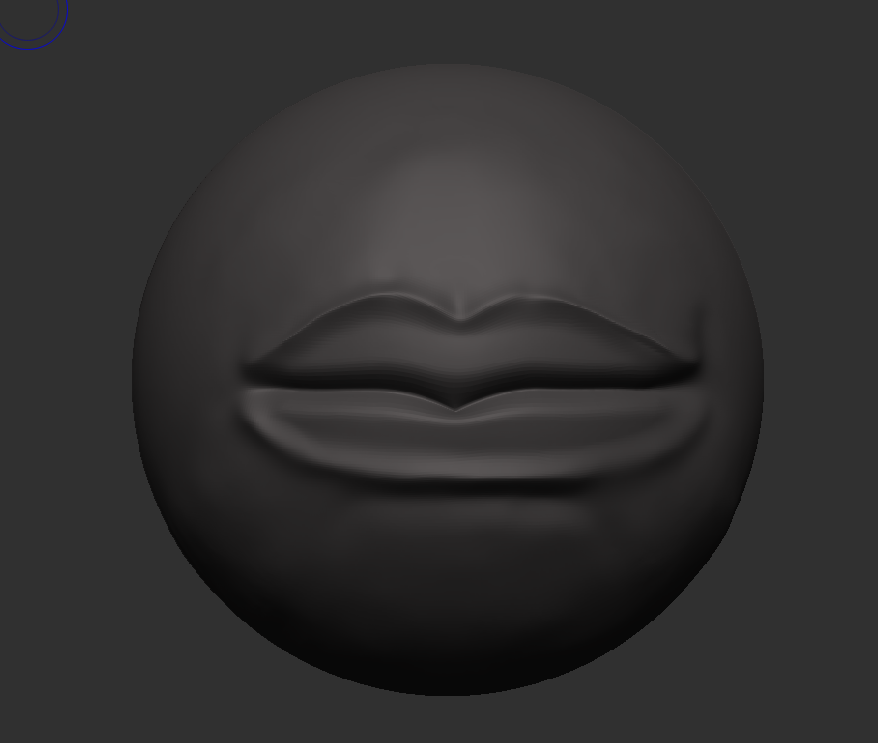
Firstly, with the mouth, I added a sphere to my sub tools and sub-divided it by 4 to start adding the details where the mouth would be. I used the dam standard tool and started with a straight line in the middle of the sphere, and this is where the mouth would be and I pressed alt when using this tool on the top of where this line is and the bottom of it is as well as this allows me to create the top and bottom part of the lip and this lines would be a bit curved as lips are that general shape.
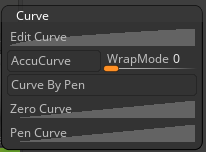
Now on the sides, I needed to move back the corners of the lips and to do this, I used the move tool however, I needed to change one of the settings with this brush, and this can be done by clicking on the brush button at the top of the screen, and this will open a new menu with a lot of options, and the one I am interested in is the curves section, and from there I will select the accucurve option and then now I can move the corners of the lips back.
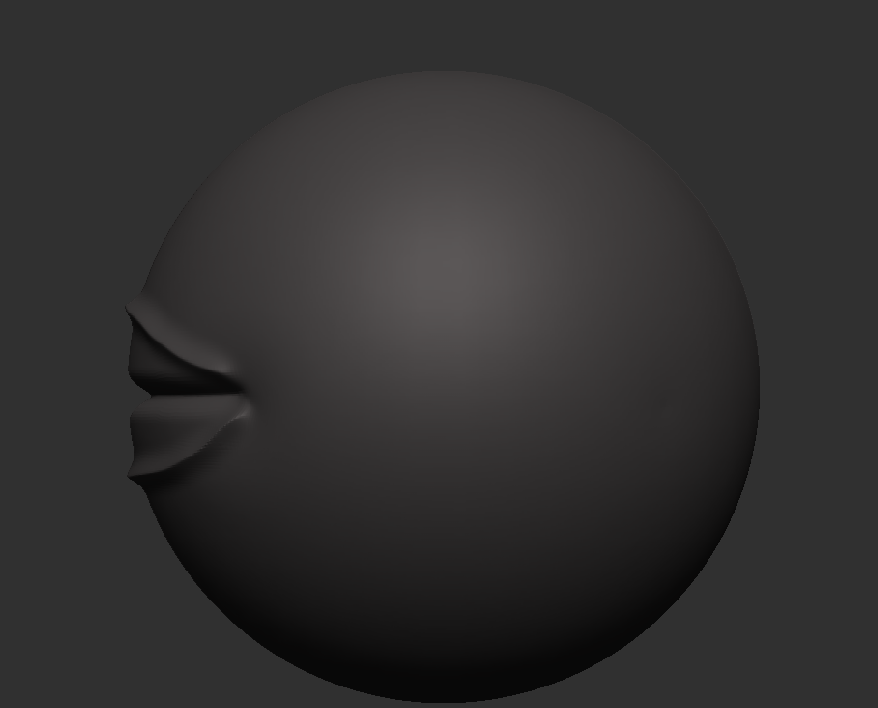
Then all I need to do to the lips are at the middle of the top part of the lip. I need to move it to make somewhat a tiny triangle shape, as lips on people tend to go down this way and make that sort of shape. On the middle line of the lip, you push it down in the same shape as well, then all I do after this is add some details around the mouth to make it more realistic and use the smooth tool to blend all of these details into the sphere.
Ears Sculpt
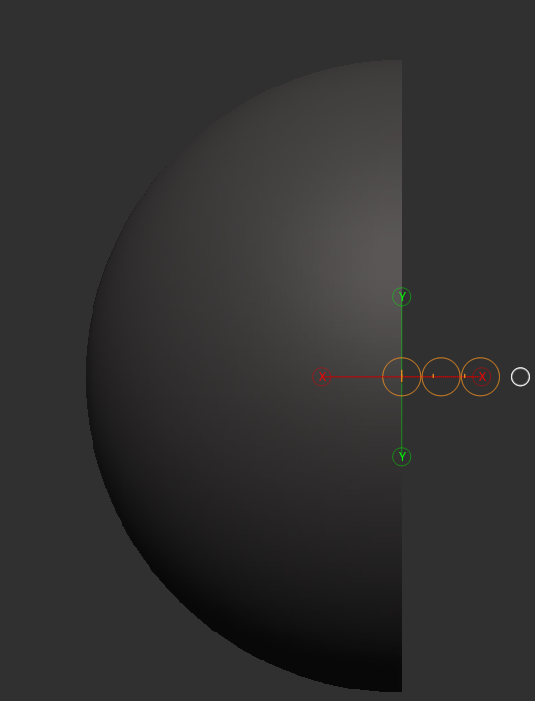
Now with the ears I started with a sphere just like I did with the mouth from there I used to move option on the top of the screen and turned off the gizmo 3d option as well now on my screen there will be a line in the middle of my object with circles and I just need to stretch it outside of the sphere a bit then select the circle in the middle and a smaller red circle will appear and pressing that will cut the sphere in half and I will repeat the same for the other side.
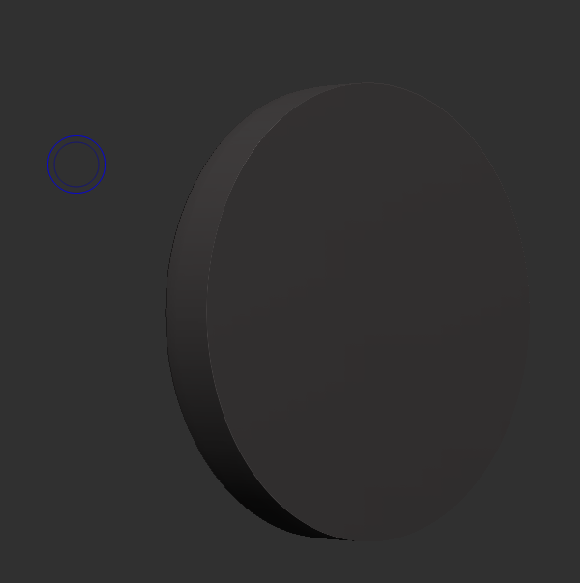
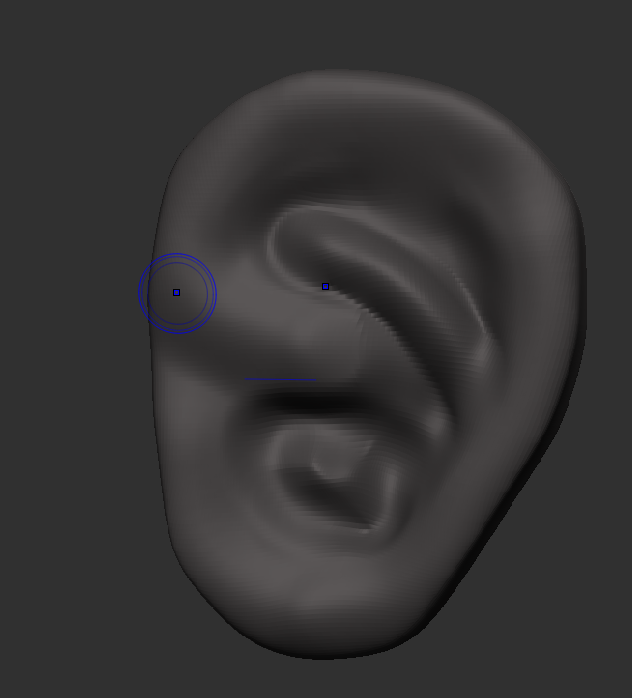
Then now I will use the move brush to shape it into an ear however at the moment, there is no detail it’s just flat as with ears, there is an inside bit so to add more depth to it I will be using the standard brush and pressing the alt key to start sculpting into the ear, and I started to go around the ear to make it to look like the inside of the ear.

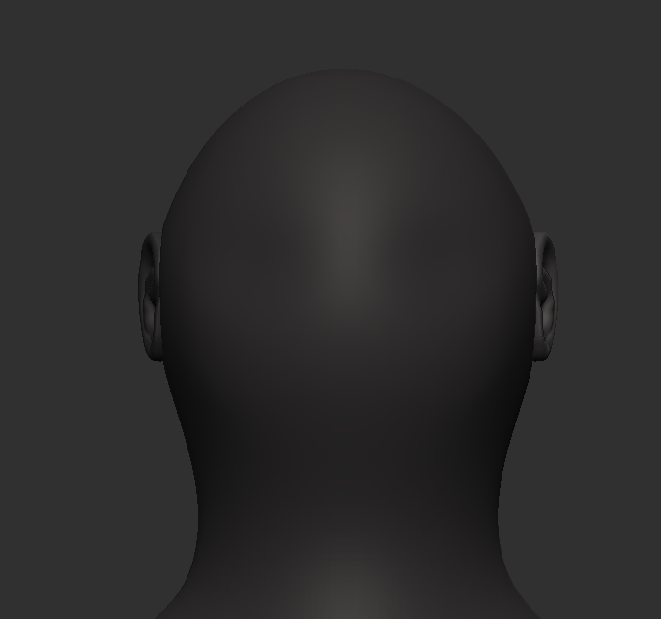
Lastly for the ears, I am going to attach them to the body and to do this I will do the same as I did with the hands which I was using sub-tool master and just duplicating the one ear to make two of them and now, they are attached to the body, and you can see what this looks like below.