Final Blockout & Hand Sculpting

Now I will look at the final version of my blockout it doesn’t include all the details yet due to it being a blockout it just has the basic sculpt of the body, and I created it using Zspheres, as mentioned earlier.
The last thing I needed to add to my model was the hands, and this was the hardest part for me to sculpt as I tried to position the fingers to make it look like there were bending to look a bit more realistic and trying to make sure they were a good length was a bit difficult as well as I didn’t it look unnatural by looking too long compared to the rest of the hand. Still, I think in the end, I was able to find a good balance between everything, so they looked right at the body that I have sculpted.
However, after I made one of my hands, I have a problem that was I only had one hand I would need another one for the left side, and I needed to merge the hands with the body so it could all become one mesh there is a way to do this is by firstly I had to duplicate the hand so I could have two of them and this can be done by doing the sub tools section and pressing the duplicate button.

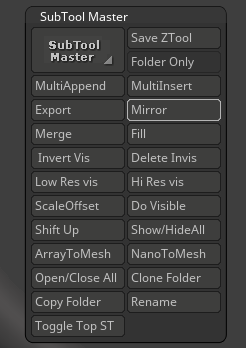
Now all I need to do is position the second hand on the left side of the model. Sure I could move it there manually, but there is a quicker method which will take the current position of the hand I have selected and position it on the X-axis, which is what I want as it will rotate and move it to the left side of the body where the hand should be. To do this, all I need to do is to the plugin section of the top of the screen and scroll down until I find the sub-tool master option and select the mirror option from there.
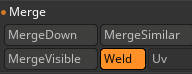
Lastly, I need to merge the hands with the body itself, and this can be simply done by using the merge down option in the sub-tool section, and this will merge any objects that are below the current one.