Introduction To Blockouts and Experimenting with them In Unreal (Week 1)
Introduction
Overall, I will cover how I created a blockout of a level using Unreal Engine and how I used various level design principles that I have learnt to make my level blockout more engaging to a player and the tools I used in Unreal engine to help me complete my blockout.
What Is a Blockout?
Firstly, before I look at the first blockout of a level I started to create, I will look at what a blockout is. A blockout is where you build a rough version of the level that you want to create by using rough shapes to represent what parts of the level are going to be and what the general level design is going to be.
Also, by doing this, it allows you to keep adjusting the level until you make it fun and engaging enough instead of creating a full level with finished graphics and everything, then realizing the level design of that level isn’t engaging or good in general.
Concept For My level & Blockout
Before I started to create a blockout in Unreal, I sketched out a top-down view of what the layout of the first area in my level was going to be. I did this because this would allow me to plan out how I want my level to be, and I could adjust it before I start to make something in unreal. This allows me to plan a level I would be happy with.
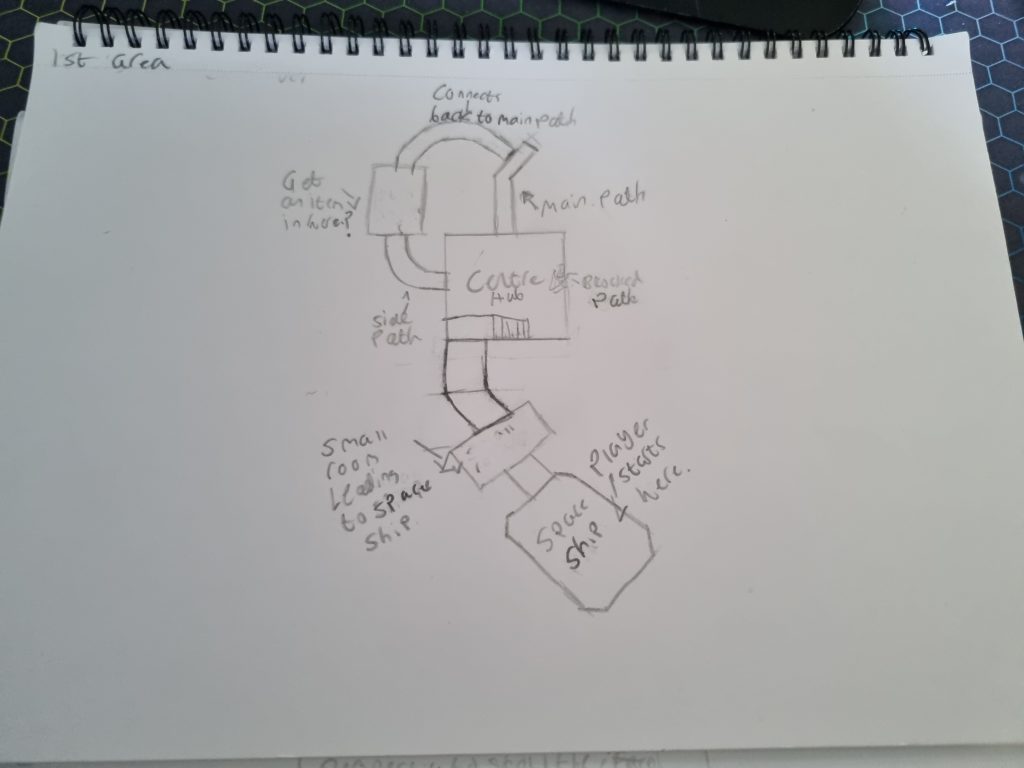
And the concept for my level is that it will be a space station that the player has to explore after docking their spaceship there. However, the space station itself appears to be abandoned, as there is no sign of any life there.
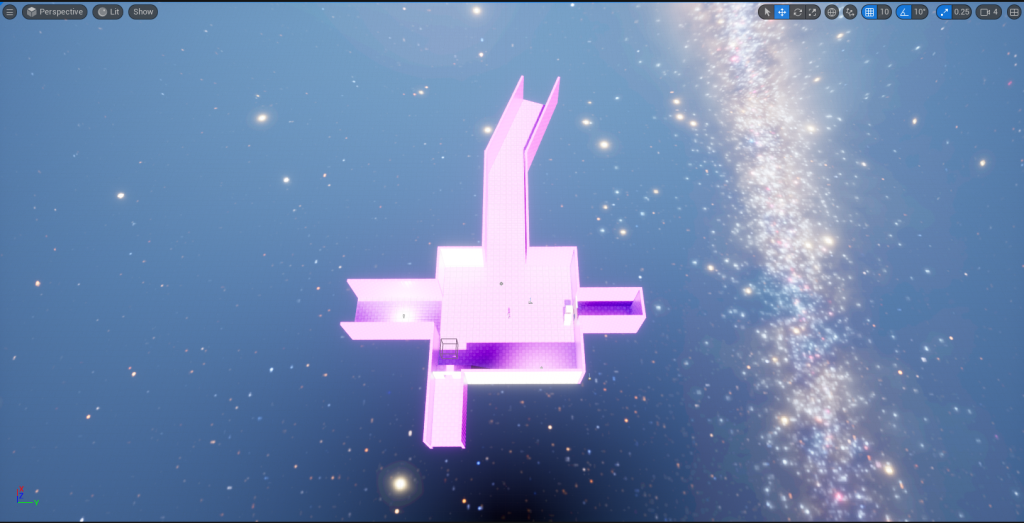
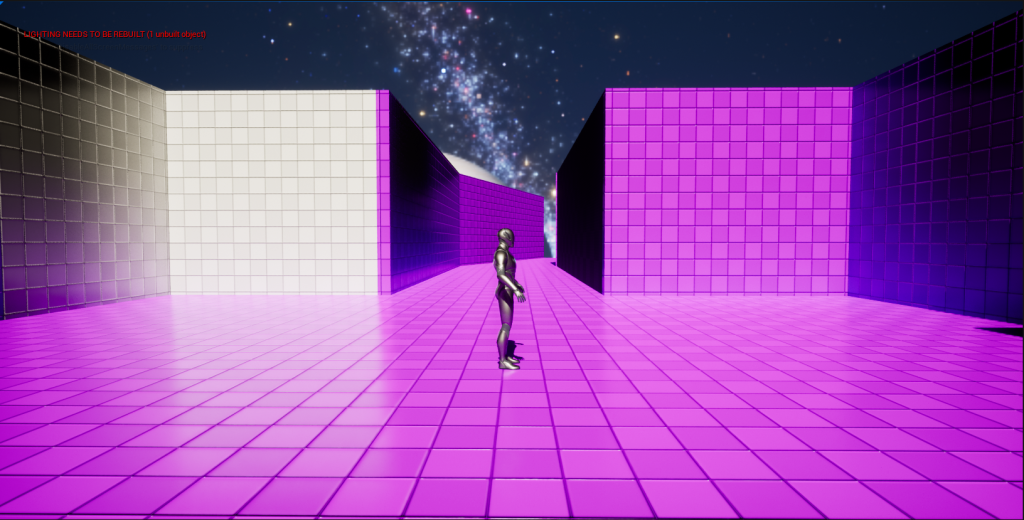
Here is the blockout that I have started to create I used simple shapes to make the areas, such as squares and the tool I used to make them were the geometry brushes which allow you to select any shape that you want to use but allow you to edit them more to your liking such as adjusting the length of one side of it etc.