Making a 360 Video, Blender Geometry Nodes (Week 1 Lab) & FrameVR (Week 2)
For the 1st week we were tasked with creating a 360 video and learning how to use the geometry nodes in blender to create various things I decided to a audio visualizer, shattering object effect and lastly making a whole city using geometry nodes.
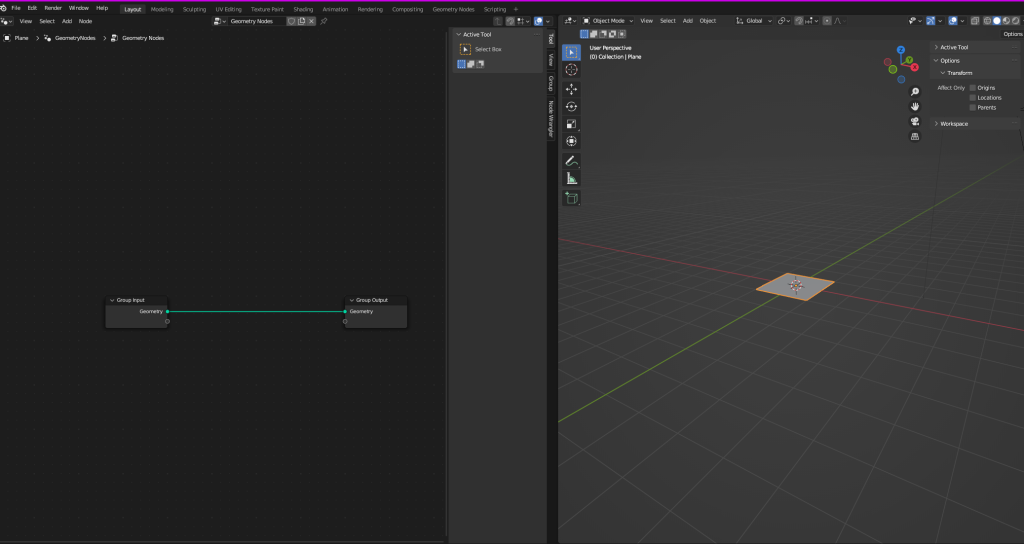
What Are Geometry Nodes?
Geometry nodes are where you can modify a object just by using nodes. The nodes system is similar how blueprints & the material editior work in Unreal Engine and because of this they are way more simple to use than trying to do this all manually becuase if I were to do it that way it would require using coding languages such as Python as with nodes you are writing out the code in visual form.
360 Video
The main process of creating a 360 video is setting up the camera and making sure my settings were setup correctly for rendering a 360 video so I changed the camera from perspective to panoramic this is the type of view you need for a 360 videos and I changed the location and rotation of the camera so it’s where it needs to be in my scene.
Now, I just need to setup the resolution I want to use in this case I chose 1280 by 640 since this is a low resolution so it will be quick to render and allow me to see if I have setup the camera and everything correctly and I set the frame rate to 30FPS and now for the scene I decided to use the city landscape I create as I am going to use a city landscape for my project.
Now, to render the video you go the render tab and click on the render animation button in this case since I wanted some movement in my video I decided to setup key frames where the city will rotate 360 this allows me to see how movement will look in my videos as in the final video I would like the camera to move slowly to other areas to give it the effect that you are walking around the environment and the video will showup in a folder as a image file in this case I used PNG’S.
Next, I need to take those image files put them into premiere pro and render it as a 360 video this can be done by in the video setting ticking this video is vr box and now it render as video you can use for VR and you can upload it to Youtube or vimeo as they support 360 videos.
However when trying to put my video on Youtube it wouldn’t display correctly at all as the models would appear all deformed but I was able to upload it to Vimeo with no issues and it wasn’t a issue with the original video file as playing it on a local media player on my pc the 360 video worked as intended. Unfortunately was unable to figure out the cause of this issue.
Audio Visualizer
Now, I am going to look at the audio visualizer I created firstly, I grabbed some music from a game I liked added it to the sequencer and then I added a plane to my scene this will act as the basis of the visualizer then I added multiple cubes and depending on loud or quiet the music is they will scale up or down in size and the geometry nodes will make the visualizer work as they will determined how large or small it can be, position of them etc.
Shattering Objects
Installing the Cell Fracture Add On & fracturing the Object
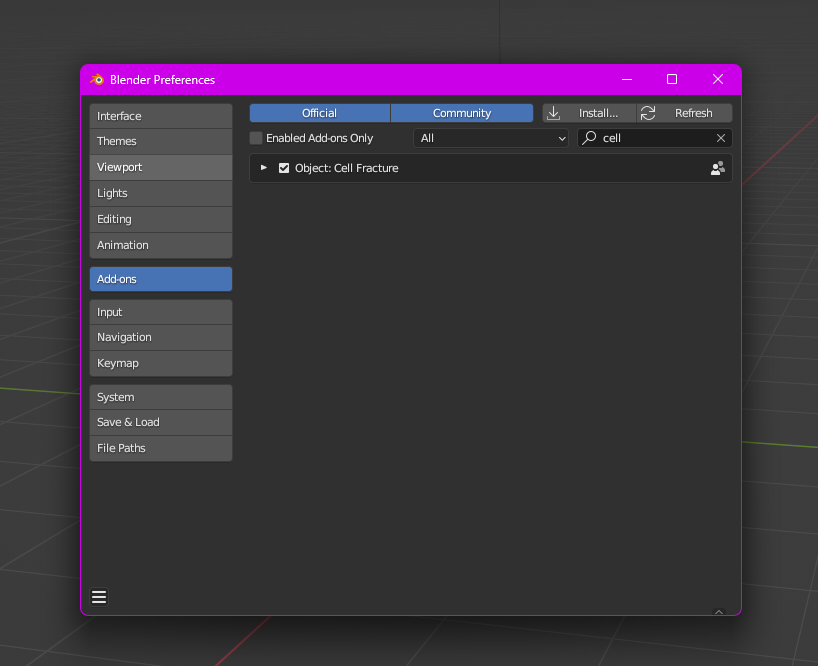
Now, I am going to look at the shatter object effect I created to do this you will need to enable to the cell fracture add on in Blender to do this go to preferences which is in the edit tab and from there it will open the preferences window and click the add ons button and from there you can search for the cell fracture add on and install it.
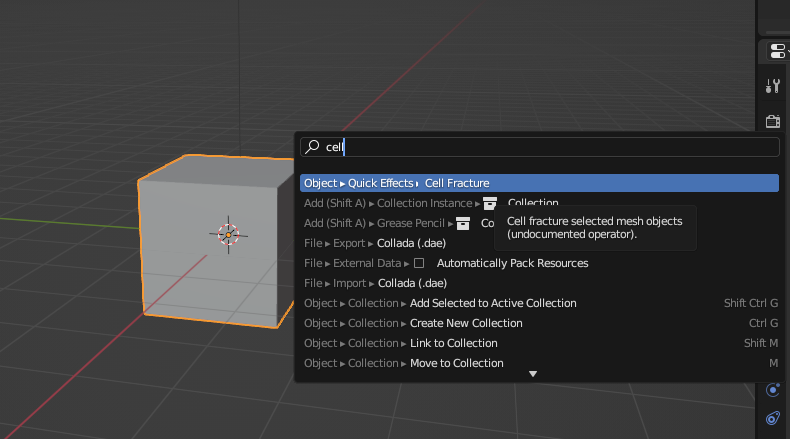
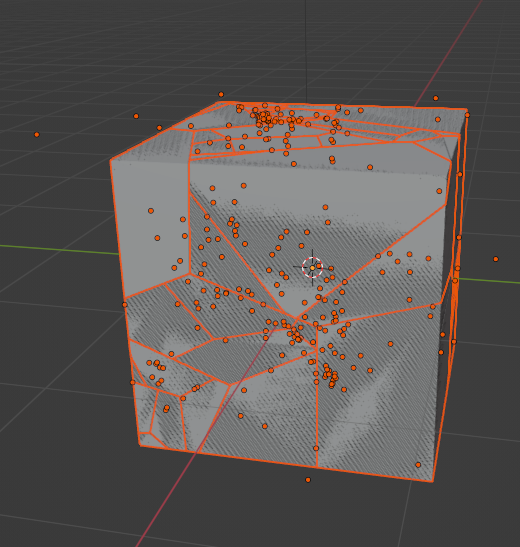
Next, I will select my object and press F3 on my keyboard and search for the Cell Fracture add on and clicking on the cell fracture button will open a new window allowing you to adjust the setting of the add on to your liking and once your done adjusting it just press the ok button now you will notice your object has alot of cuts in the model.

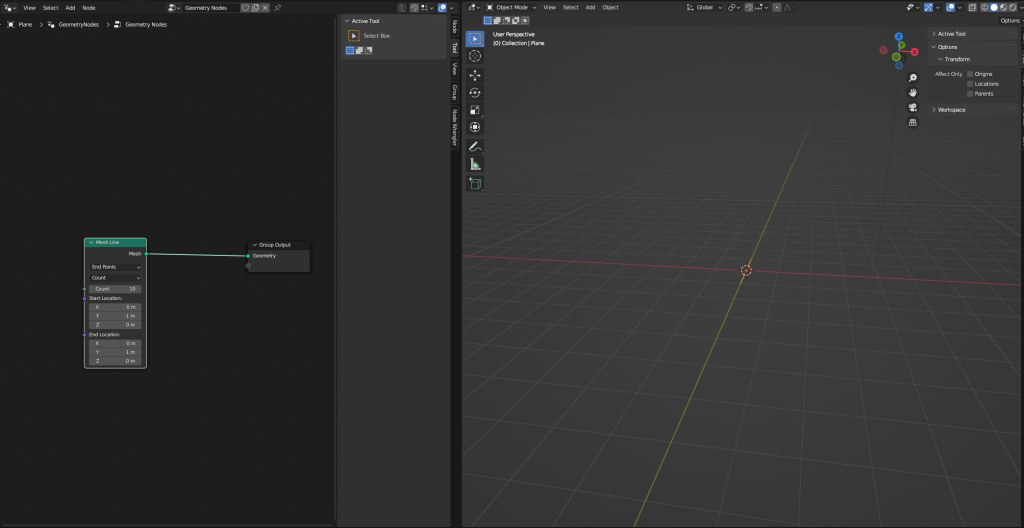
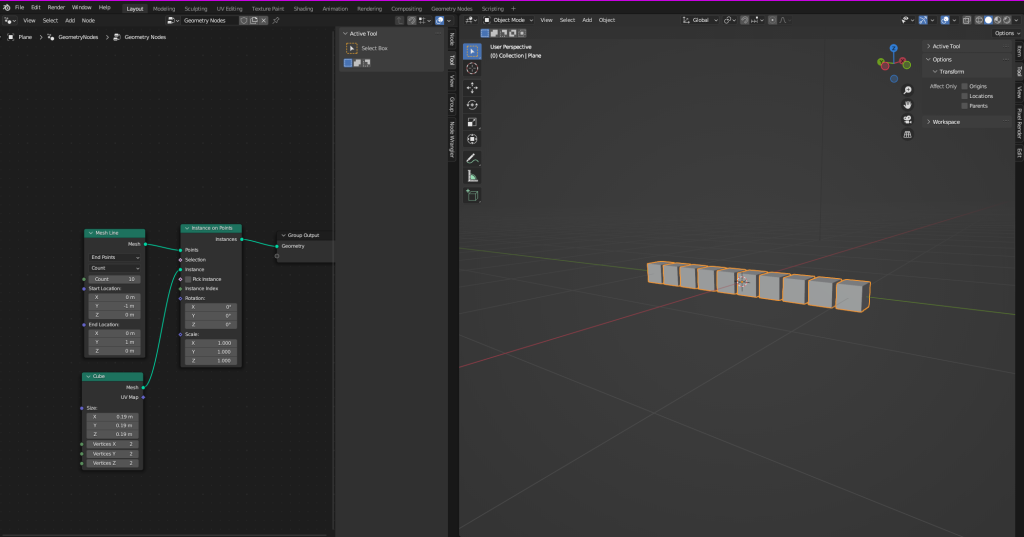
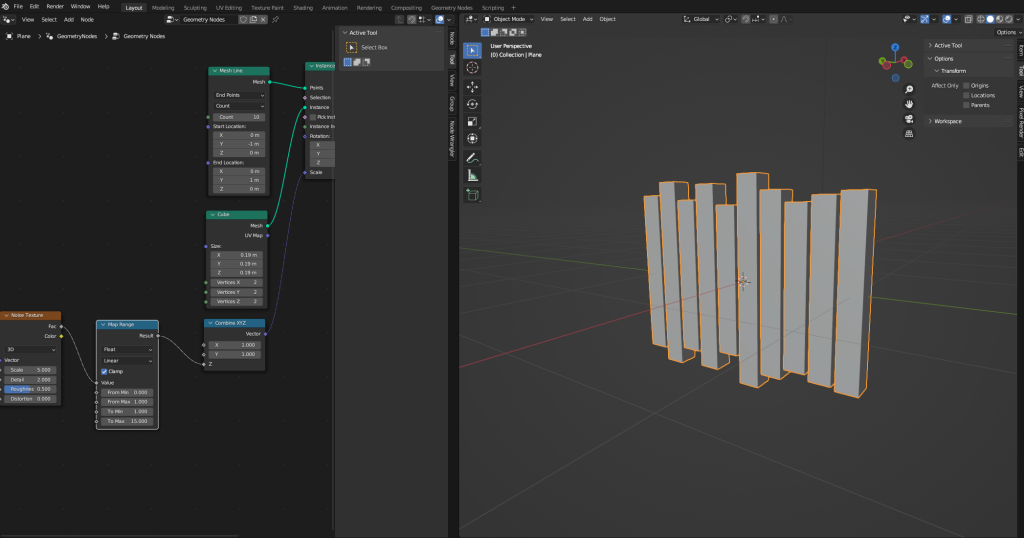
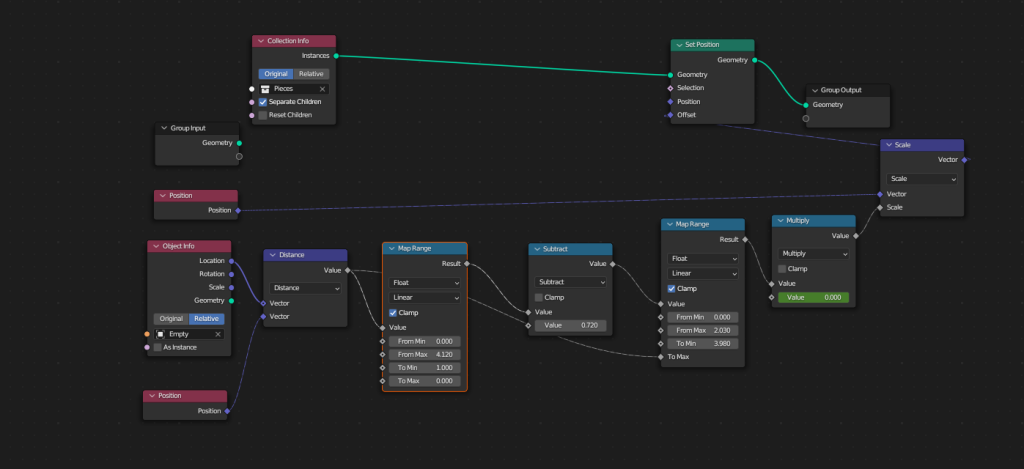
Now, it’s time to start using the geometry nodes so I will go the geometry nodes tab in blender and I will add a plane into my scene and this will be where all my nodes will be used on I can just drag the cube and any other objects I might need into this and use them and from here I will just add a bunch of variables to make the effect the way I want it and the last thing I need to do is setup some key frames so it’s a actual animation to do this I will use the sequencer and depending on what the multiply node is set to this will change the effect so on the first frame the value will be set to 0 and depending on the frame I will just change this value to get the effect you see in the video.
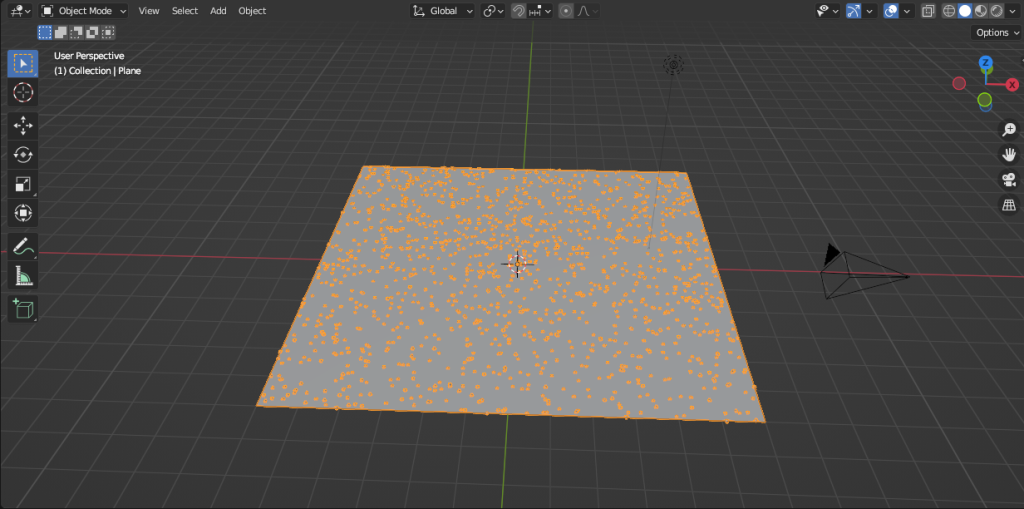
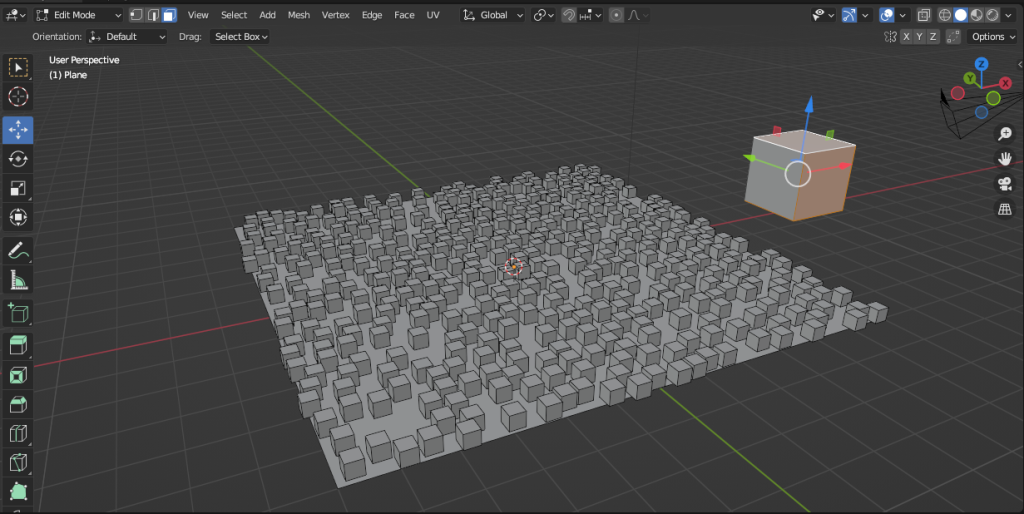
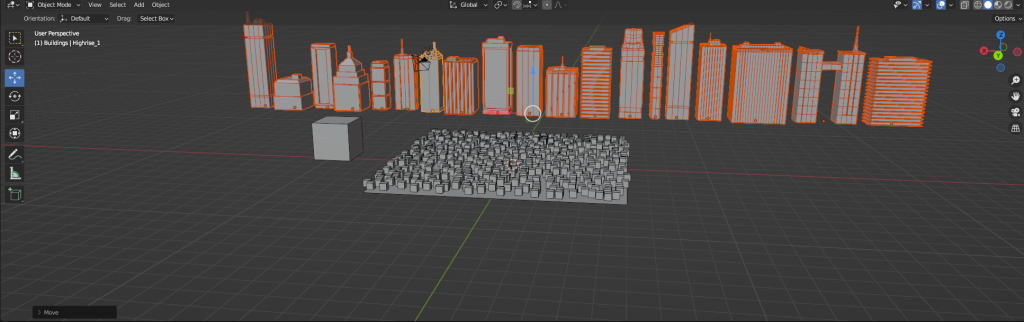
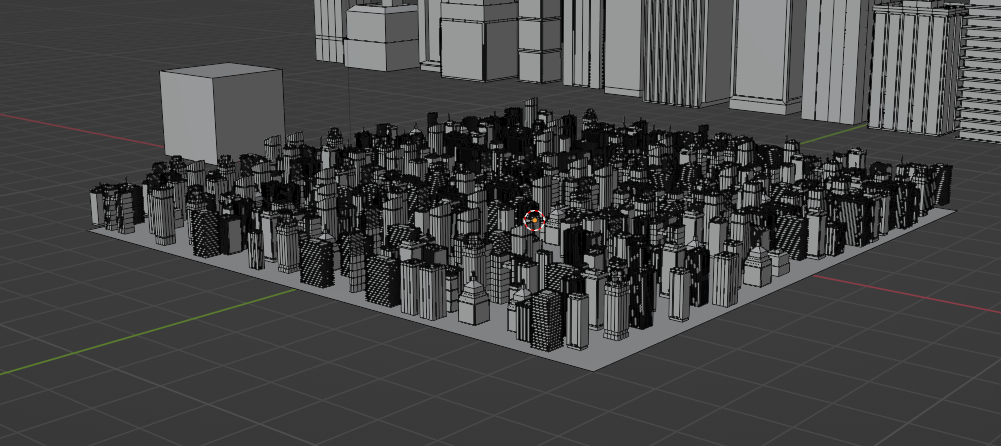
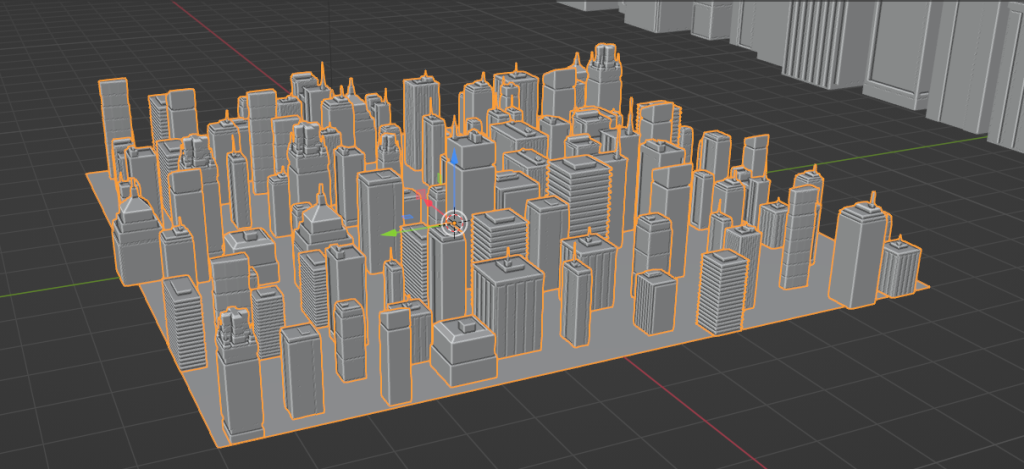
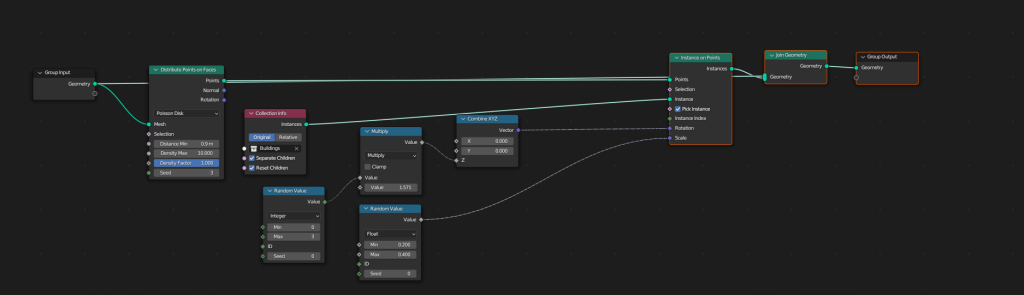
Making a City with Geometry Nodes
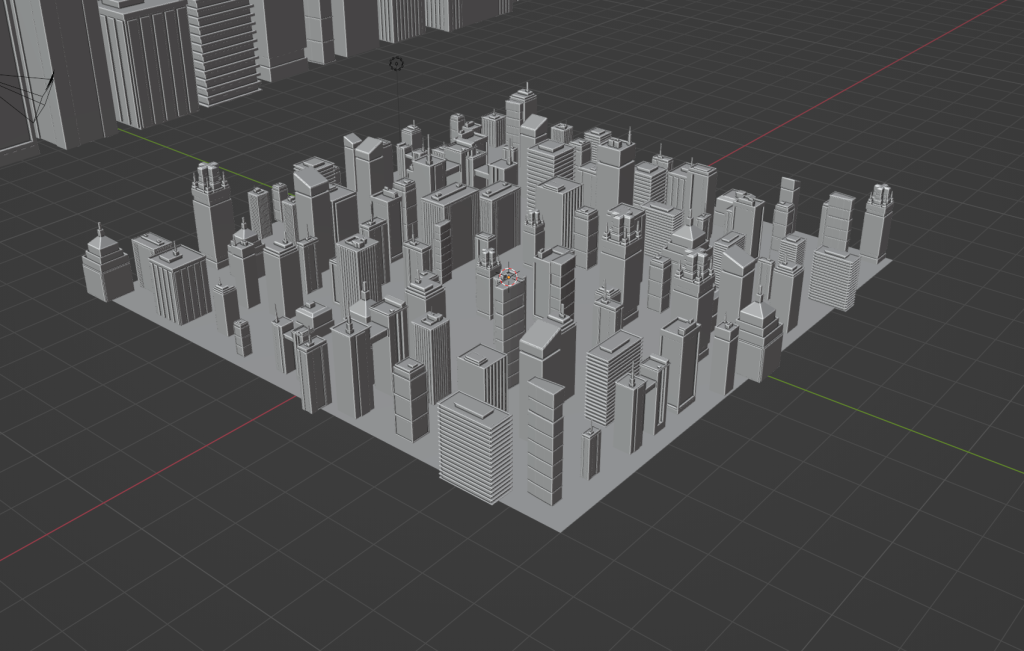
Lastly, with the geometry nodes I used them to randomly generate a cityscape based on particular parameters such as how close the buildings can be because if they were too close together the models could clip into each other and in actual city the buildings would be somewhat spread apart from each other also I made sure it would use all different types of buildings so it had alot of variety to it.
Week 2
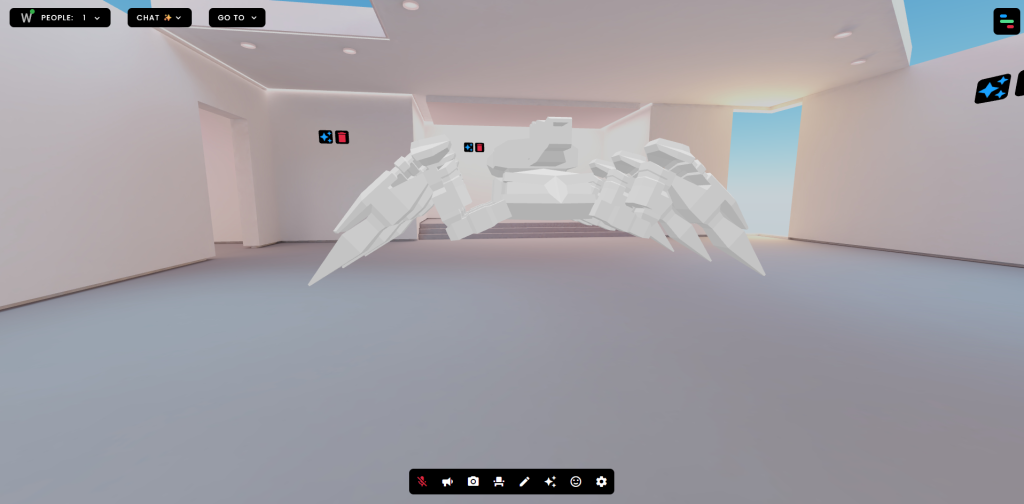
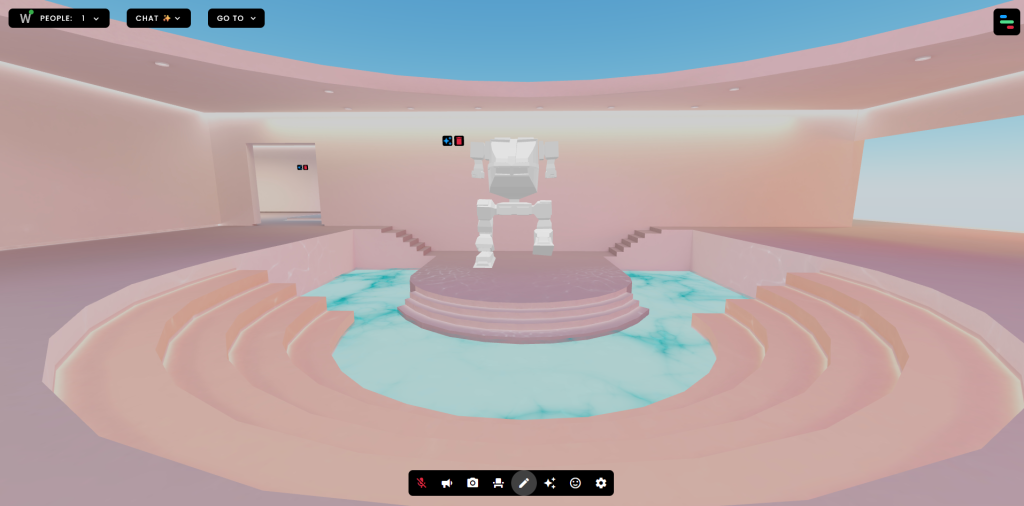
For the 2nd week I was tasked with creating an virtual space using the tools that FrameVR has so I decided to use it as a way to show my previous work this includes alot of my 3D models that I have created and various work I made in Photoshop so I created a portfoilo where you can walk and view the models from very angle.
Importing 3D Models
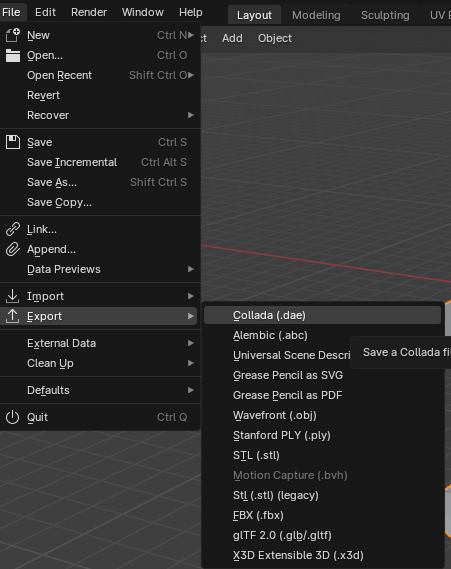
Firstly, to import my 3D models I needed to convert them to the .glb file as this the file format that FrameVR supports so in blender I went to the export tab then set as .glb file however when importing them into FrameVR only half of the model would be appear.
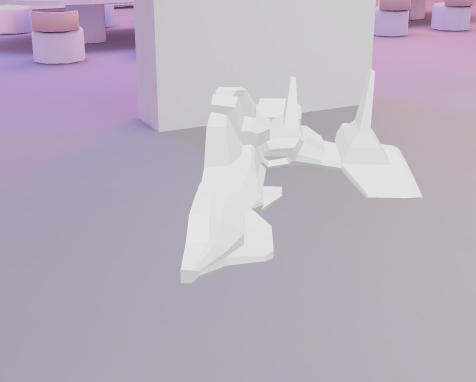
I believe the reason this is happening is because with some of the models I created I used the auto mirror modifer which is where I only half to create a half of a model and it will automically repeat it on the other side so there isn’t only one half of the model so when converting the file format that is isn’t being copied over.
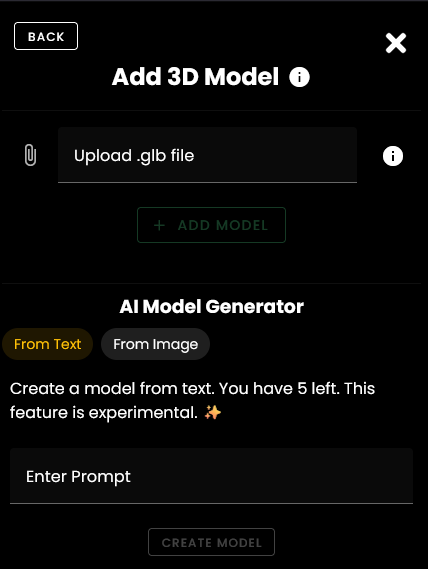
So to fix this I had to convert it to a FBX file then convert it to a glb file this seemed to fix the issue. So to upload it to the FrameVR website on the left side of the screen there is a menu from there select the model option and just click the add button and this will allow you to browse to where your model is.
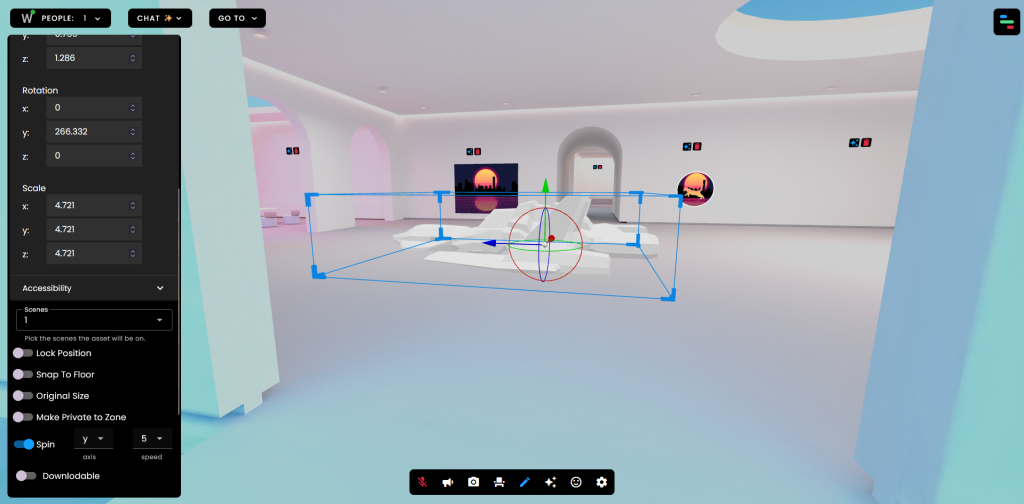
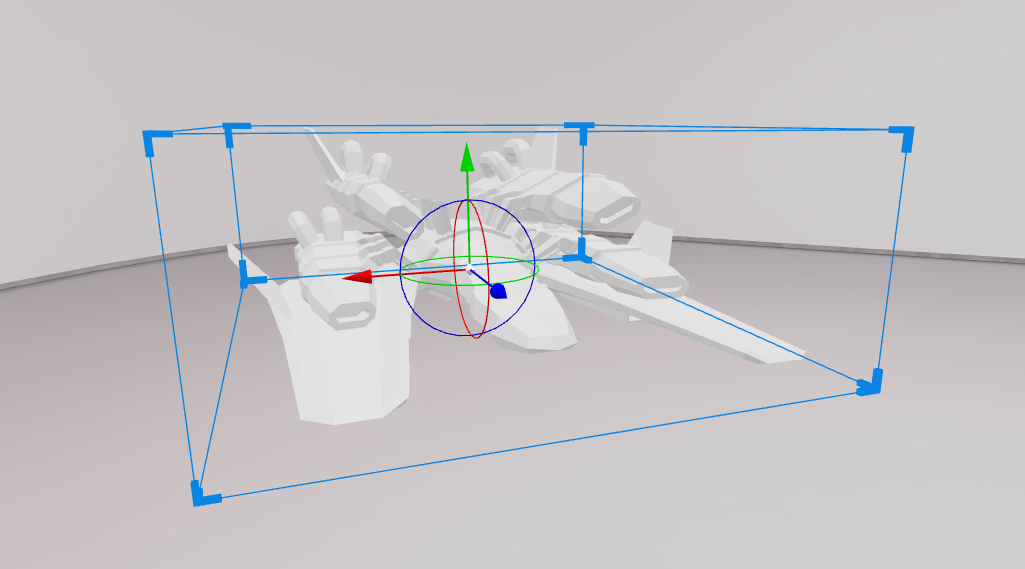
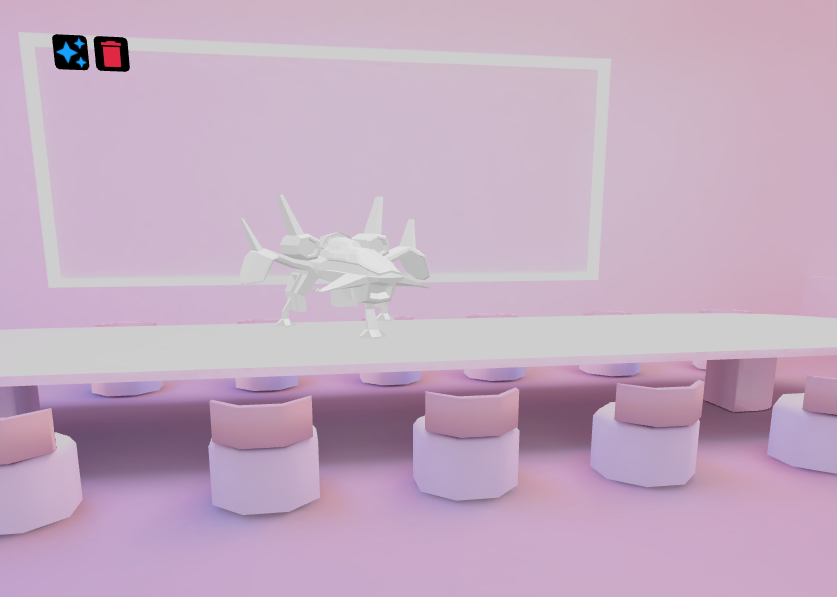
Now, it will be added to your scene and now you have to go into edit mode to adjust the position, scale, change the rotation etc. To do this on the bottom of the screen there is a blue pencil button and clicking it will put you into edit mode so I added various models I created around the environment.
Adding Audio
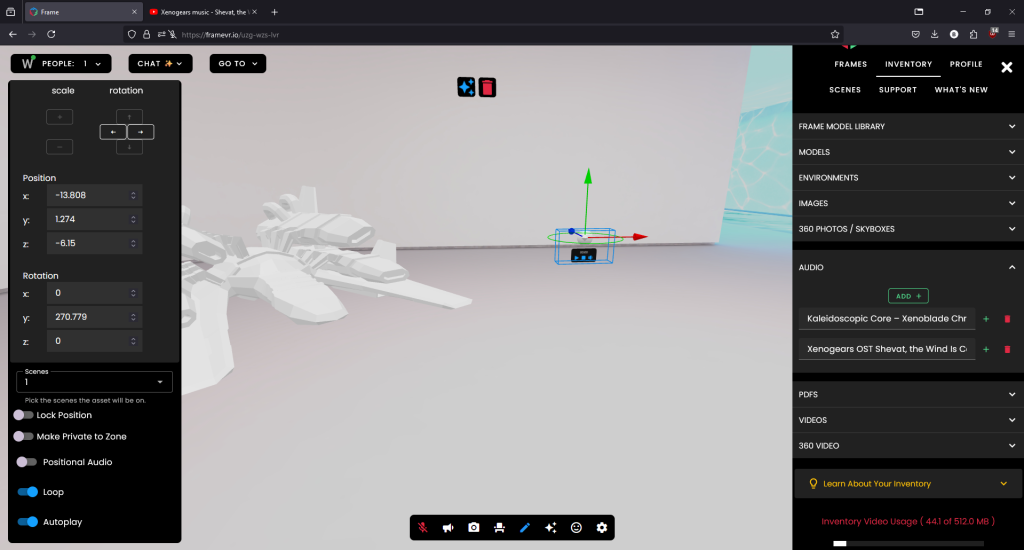
Next, I am going to add audio to do this I will go to left side of the screen and scroll down until I see the audio button and click on and from there you can click the add button to add any audio that you like I chose some music from a game I liked also you can only add mp3 files.

Also in edit mode you can make the audio positional so this means it will only start to play where you walk into that area where you placed the audio in your scene and you make it loop so it plays forever or set it to autoplay so it automically starts playing.
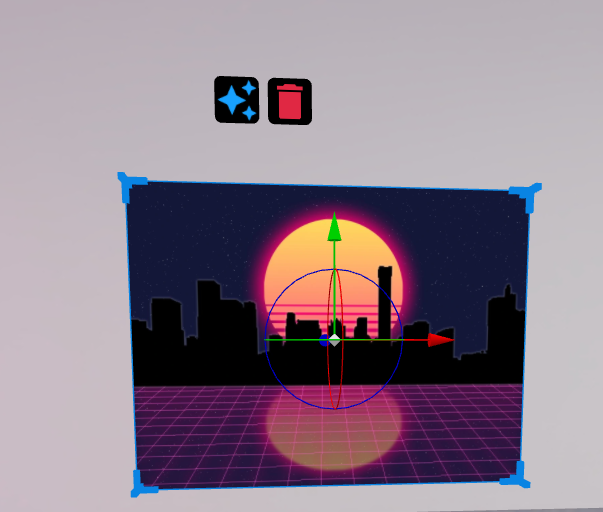
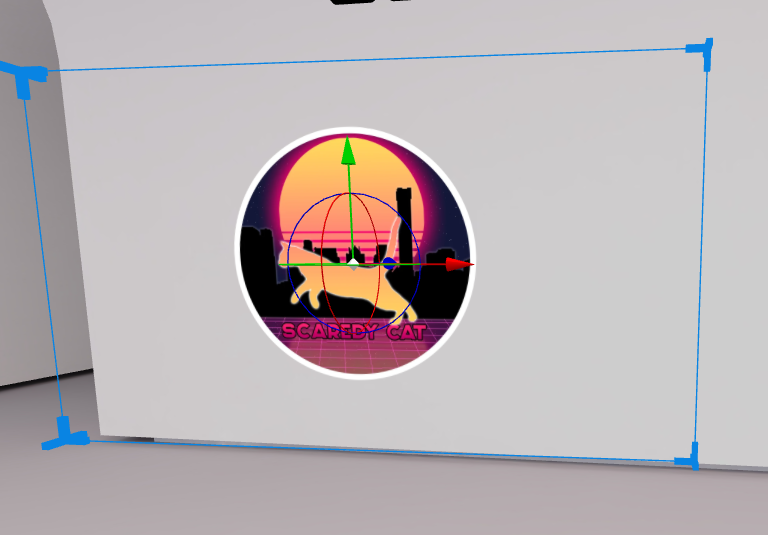
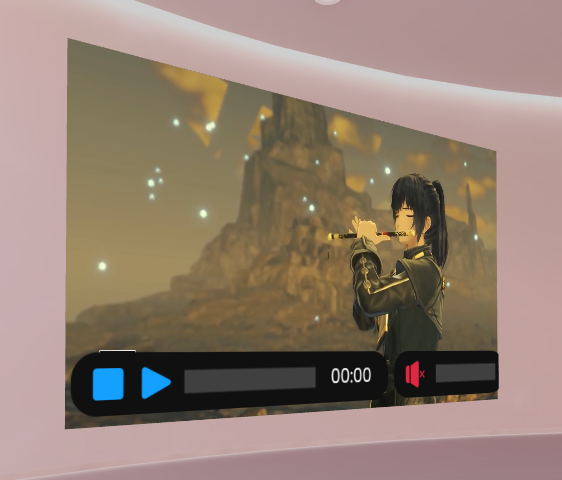
Adding Images & Videos
To add images & videos it is similar process of when I added the audio so you go onto the left side of the screen and find the image or video option and click the add button to browse for the files and then it will be added to your scene and you go can do it into edit mode to adjust them.
Reference List
Taishawnbrown6 – (2nd of February 2021) 75-low-poly-buildings
https://sketchfab.com/3d-models/75-low-poly-buildings-ec632910ad8642d48e67c0a6ff747522
[Accessed 30th of September 2024]
DDSamurai – (7th of January 2016) Ryu Ga Gotoku 0 – Receive You ~Tech Trance Arrange~ [Awakening Mix]【龍が如く0】
[Accessed 17th of November 2024]
Baseline5 – (24th of June 2009) Xenogears music – Shevat, the Wind Is Calling
[Accessed 17th of November 2024]
Max G. – (10th of August 2023) Kaleidoscopic Core – Xenoblade Chronicles 3 OST – ACE
[Accessed 17th of November 2024]
Nintendo of America – (9th of February 2022) Xenoblade Chronicles 3 – Announcement Trailer – Nintendo Switch
[Accessed 17th of November 2024]