Dev Log For Collaborative Group Project
Using Hack & Plan
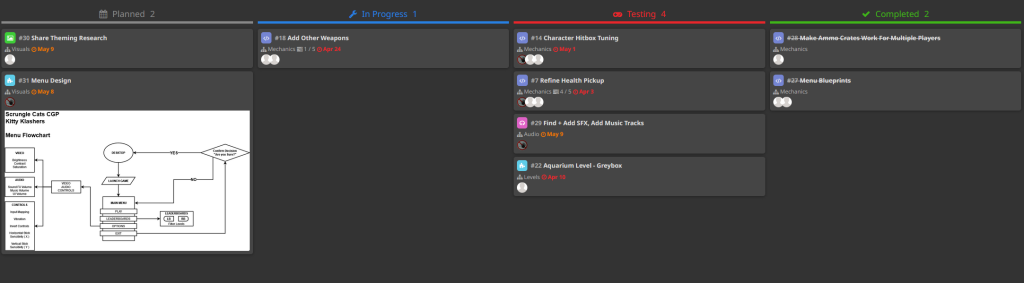
Before I look at the work I did for the finished game I want to look at how we managed our tasks for this project and in general how we managed our time using Hack & Plan we used it to set tasks for each thing that needed to be such as adding mechanics and a day that we wanted them to be done by. By doing this we set ourselves deadlines when each thing needed to be done so we could move on to the next thing.
Timer Blueprint
Firstly, I am going to look at what I did for the prototype of our final game, which is the arena shooter, so I helped with blueprinting various mechanics that were needed, such as making a timer as we would need it to know how long the match is and when the timer runs out the game will end.
To do this, I set up some widgets, one for the timer and another allowing the player to play again after the match. Now that I have created the widget for them, I need to make them do something, so I added a blueprint inside of the game mode, which down counts from 5 minutes to zero, then pauses the game allowing the player to select the retry button that I created with the game over the widget.
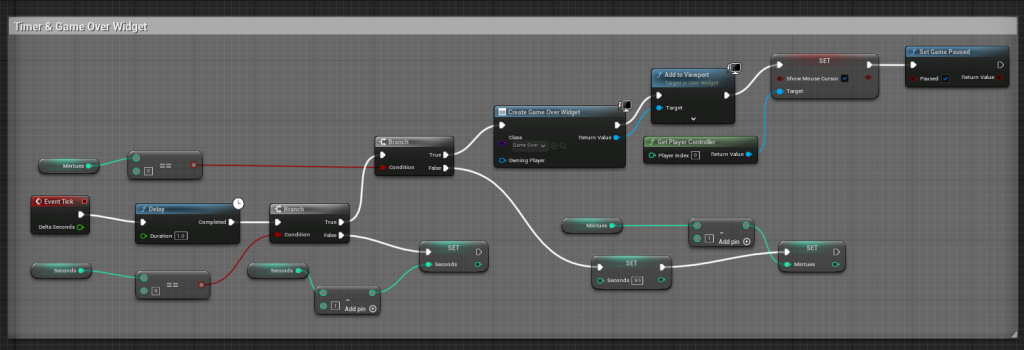
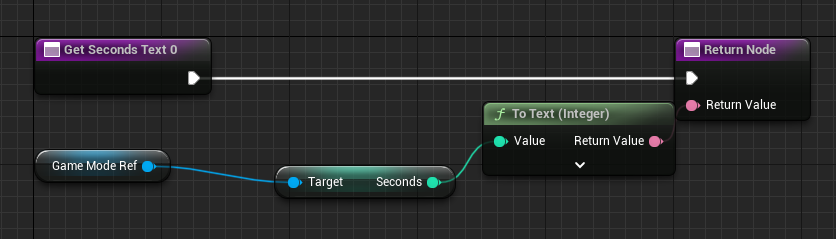
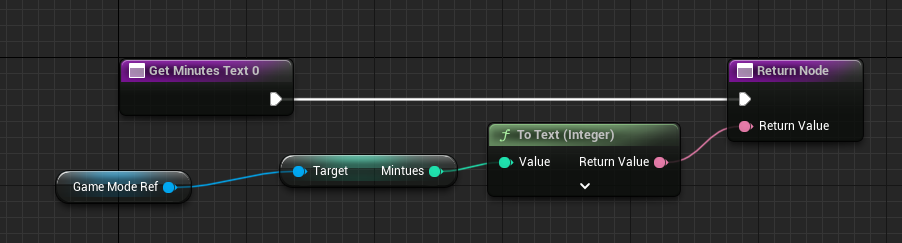
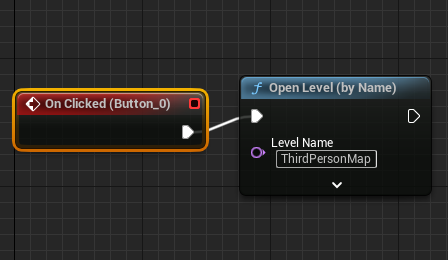
Next, for the timer, I had to tell the widget to display the timer, as this can be done by getting a reference to the game mode blueprint allowing me to access all the functions I have created inside of it. In this case, I told it to display the minutes and seconds onto the text I have, and lastly, I just created a simple button allowing the player to restart the game once the match is over by just telling it when the button is pressed it will just reload the level they are on.
Health System & Health Pickups
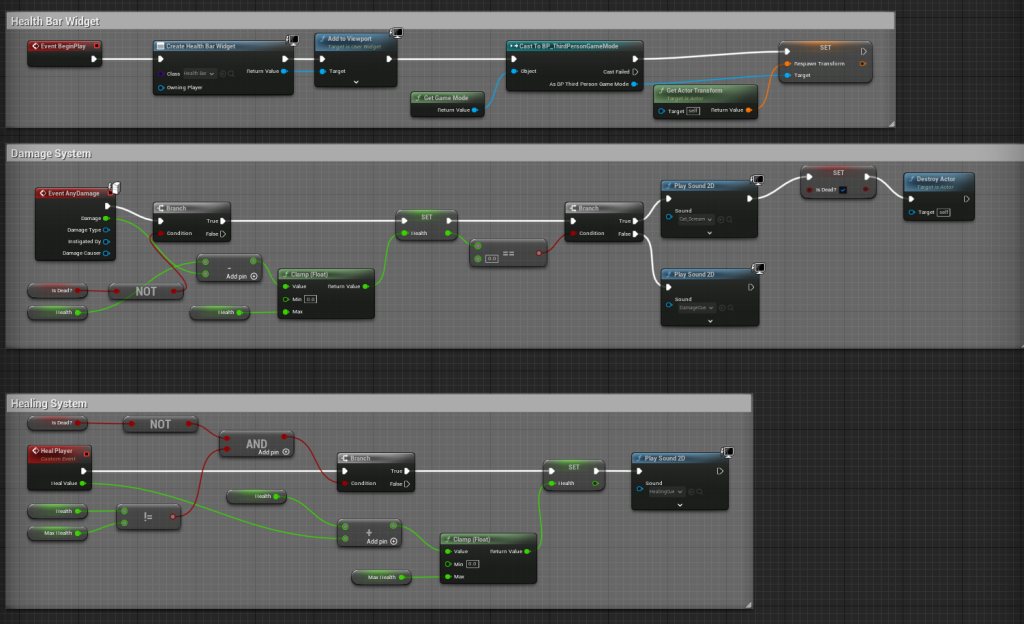
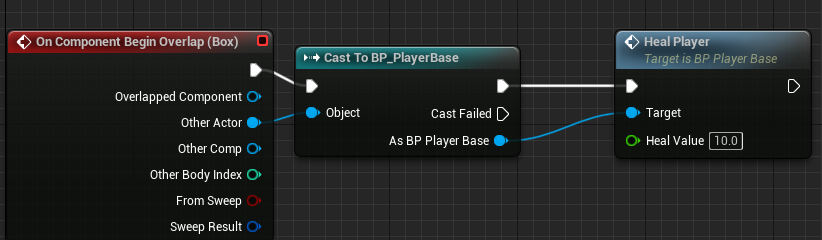
Also, for the prototype, I created a basic health system with a health bar and pickups that you can collect, allowing you to restore health when the player runs into them around a map. However, I ended up redoing the health system later on as there was a better and more efficient way of doing it.
Enemy AI
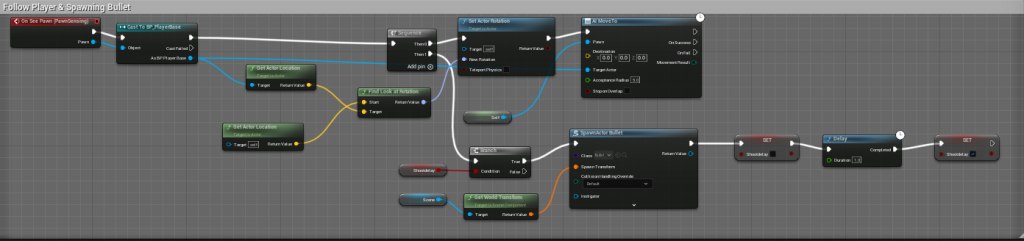
Lastly, for the prototype, I created ai for the enemy. This wouldn’t be included in the final game, as it would be other players shooting at each other instead. However, it was created to show what this could look like in the final game. As for the prototype, we didn’t have time to add multiplayer.
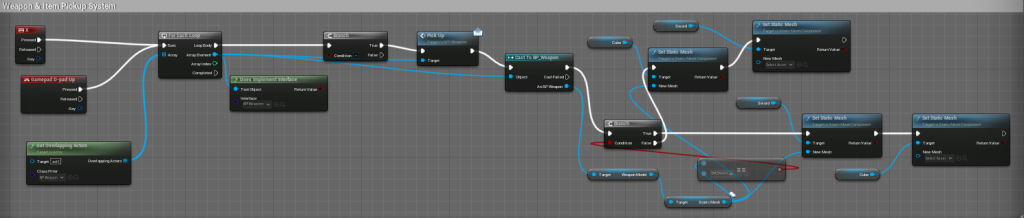
Weapon & Item Pick-Up System
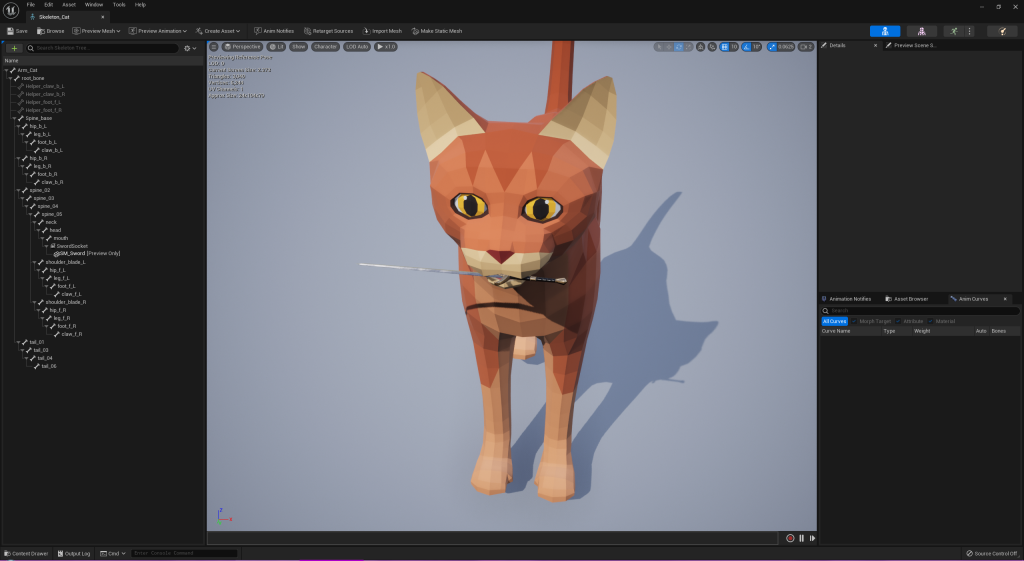
After the prototype was finished, we wanted a system where the player could pick up various weapons and items that the player would find on the map. How it works is that when the player pickups up an item, the one that was right in from of them will get destroyed now will appear in their hand or whatever you want them to appear, which can be set up by adding a new socket to the player model.
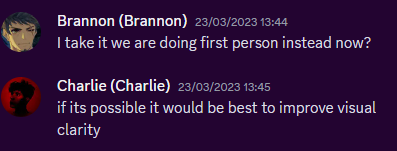
Third Person To First Person
Throughout working on the project we had meetings on Discord to discuss how well things were going, what we wanted to do next etc, and during one of them we decided to change the game from a third-person arena shooter as most of the group felt that it would improve the general flow of the game and visual clarity. It was a simple change to add all I did was move the player camera instead of the player model then now it’s first person.
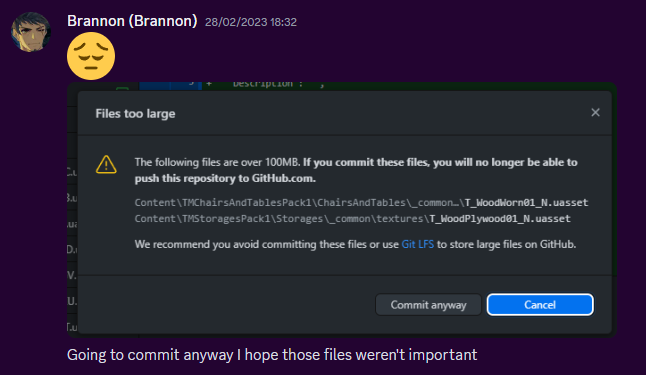
Sorting Out Github
These meetings mainly covered how we would set up our project so everyone could make changes to it while we thought of using GitHub. However, we had issues when pushing a large project to GitHub during the prototype phase mainly due to how many asset packs were being used, so we’re thinking of ways to get around this limitation. We got around that by when first making a project not including many asset packs or any at all when first uploading it to GitHub and then adding them later.
Shooting a Projectile/Bullets
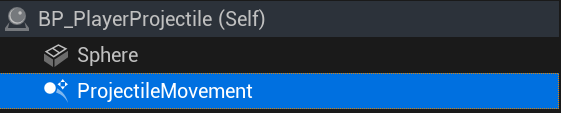
Now, I will allow the player to shoot bullets, so firstly, I need to make a bullet object. For now, I will just use a simple sphere, and I just need to add a projectile movement component to it so it can move when we shoot the bullet.
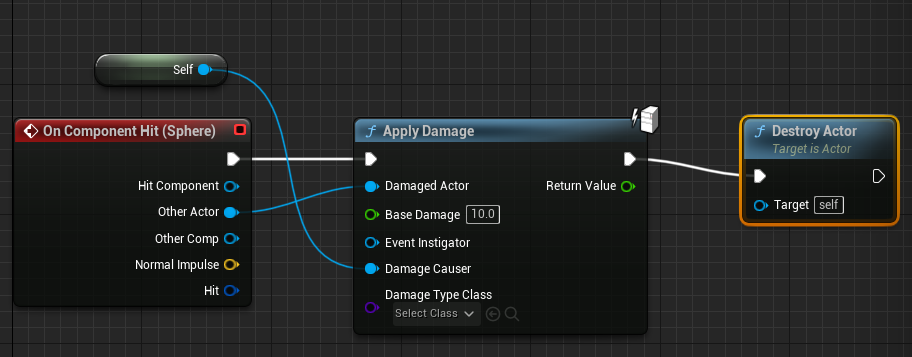
Then I set up the blueprint for shooting the bullet so that when the player presses the left mouse button or the right trigger on the controller, it will shoot the bullet in the direction they are facing. Lastly, I returned to the bullet blueprint to make it do 10 damage to any other players when it hits them.

Ammo & Reloading System
Apart from the shooting itself, one of the essential mechanics in our game would be giving the player ammo and allowing them to reload when they run out of ammo. This is a core part of many shooters, including our arena shooter.
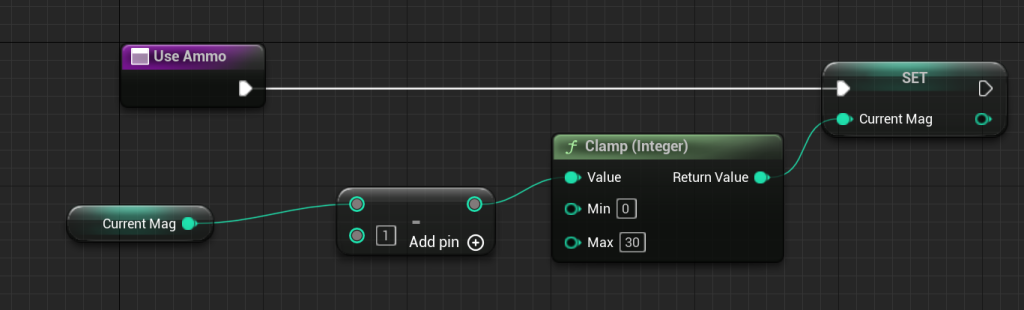
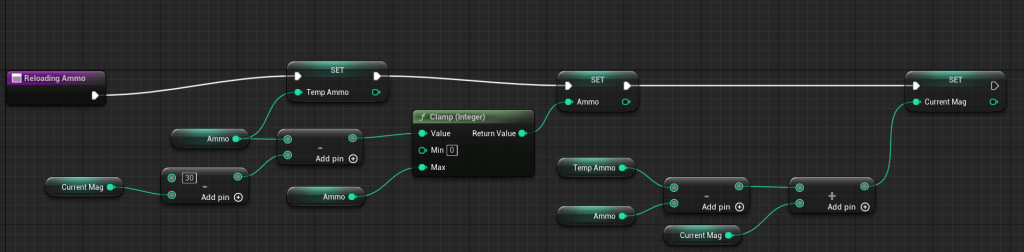
To add this to the game, I created functions allowing the player to use ammo and another one for what will happen when the player reloads their gun. This will check the player’s current ammo and set it to the new amount they should have. Lastly, I have set it up to allow the player to press a key or a button on their controller to reload their gun.

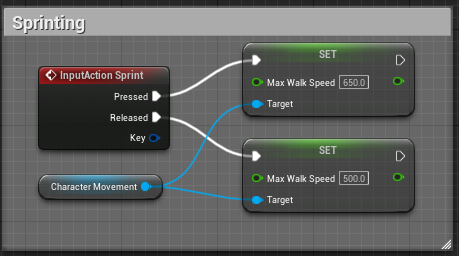
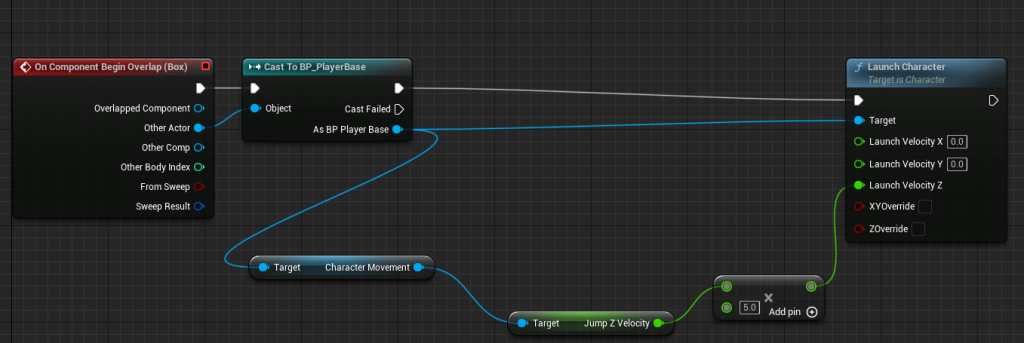
Sprinting & Jump Pads
I decided to add sprinting as I felt the regular walking speed was a bit slow, and giving the player another movement option was the correct way to go about it. Adding the sprinting was very simple, and how it works is when the player presses a key or a button on their controller, it will increase the player’s walk speed for how long they holding down the button or key. Lastly, for the jump pads, when the player walks onto it, it will increase their jump height by 5, so it launches them way higher than a regular jump.
29th of March Meeting & 30th Playtest
In this meeting, we went over the map design for the aquarium that Marshall created this map shows multiple rooms that he added, height variation, and where the jump pads and the pickups could be placed.
The next day we did a quick playtest in the labs and during this playtest we found some bugs such as the retry button being pressed, the other player’s health wouldn’t show correctly, looking up causing the player model to clip, and lastly, some slight jitter when the player moves.
10th of April Meeting
In this meeting, we went over various mechanics that we want in for now such as we decided to remove sprinting and just adjust the base speed instead and add it back if we thought the game needed sprinting and add a scoring system to the game and make sure the gunplay in the game is fun and well designed.
Score System
Our game needed a score system when the player kills another player it will keep track of that however when I implemented it every time one player was killed it would give the score to every player instead of just the one that killed them so I and Toby worked together on a fix for this.
Texturing the Level
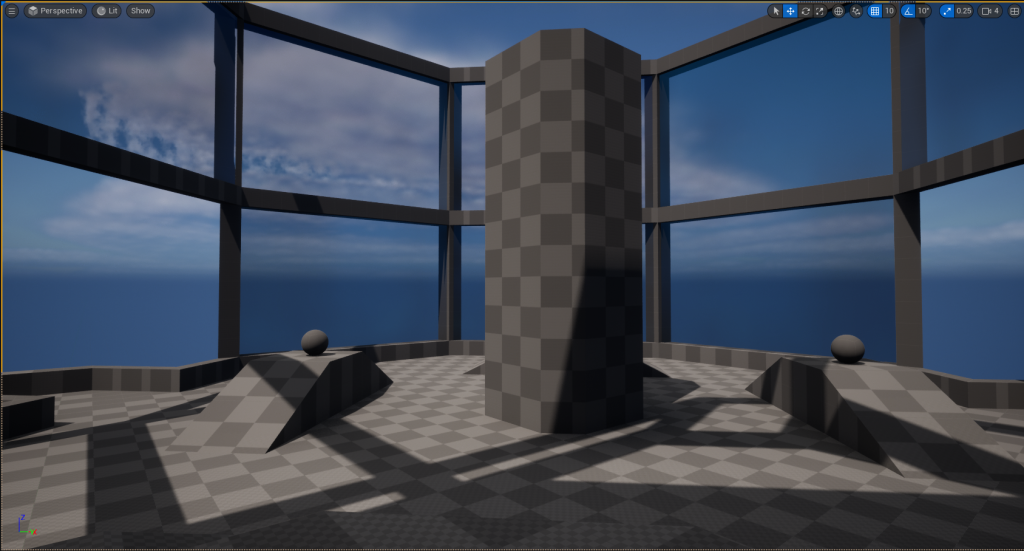
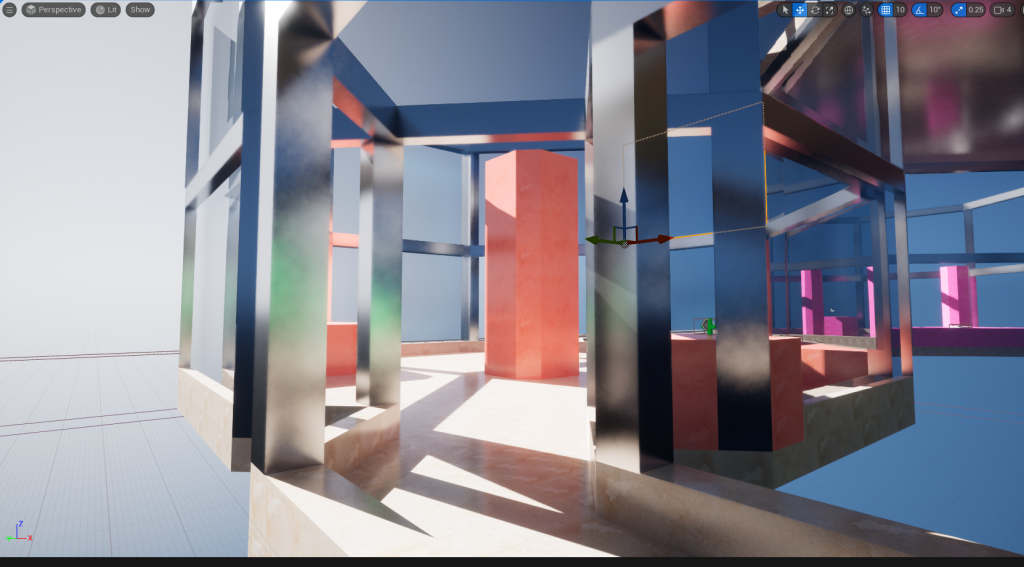
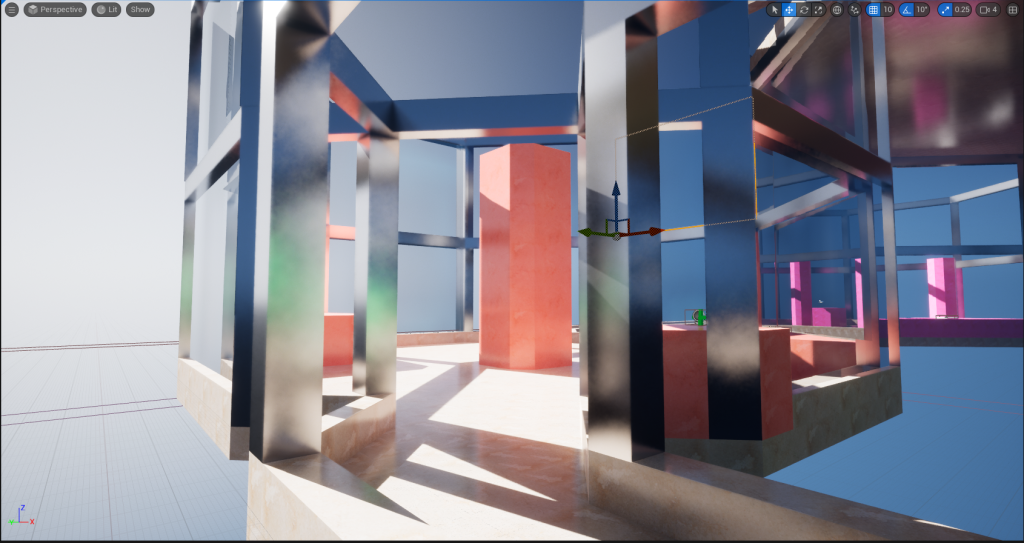
Before Level Has Been Textured
The level that we created needed to be textured and since this level was going to an aquarium on the outside there would be props and a wave effect to make it look like there is water outside but for now, I focused on the inside of the aquarium, and we decided as a group to make the floor marble and the support beams an iron texture.
However, I didn’t want everything to just look the same, so I edited the marble texture to make small variations of them just by changing the colour of them sightly also this helps other players being able to find each other more easily due to the use of different colours instead of all just being the same.
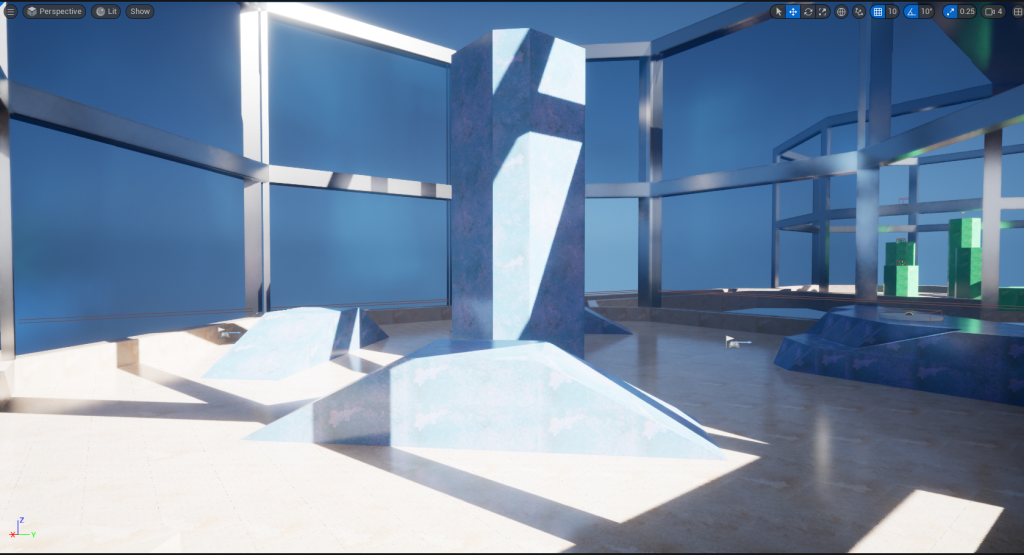
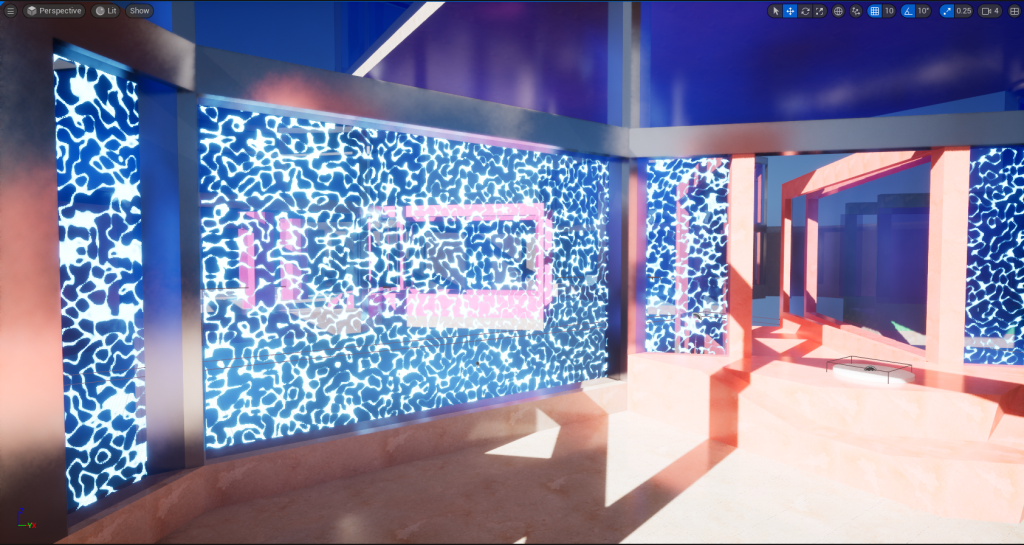
Originally, I was going to use the water texture that Marshall made and put it behind the glass to make it look like moving water however when showing this to some of my group they felt it was too much on the eyes, so I decided to remove it.

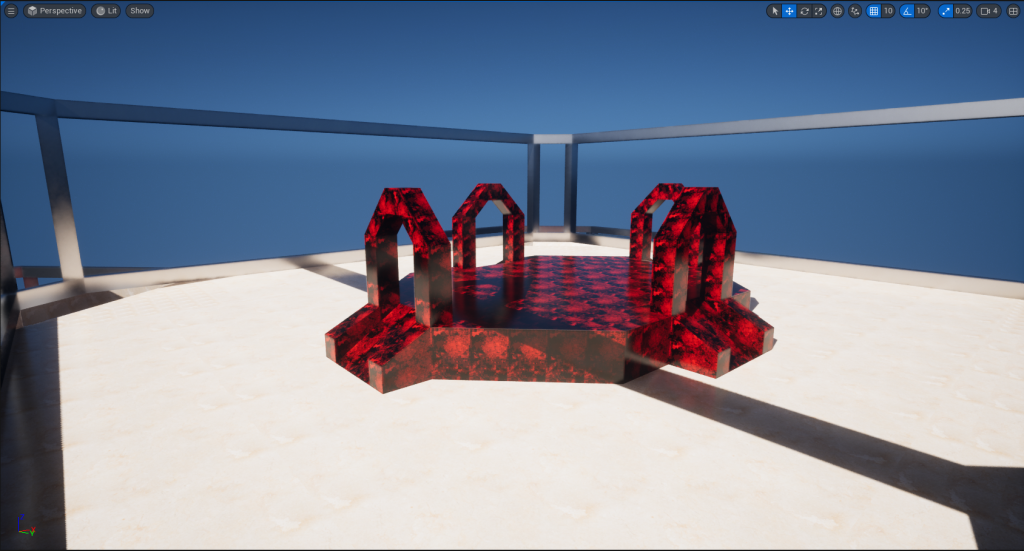
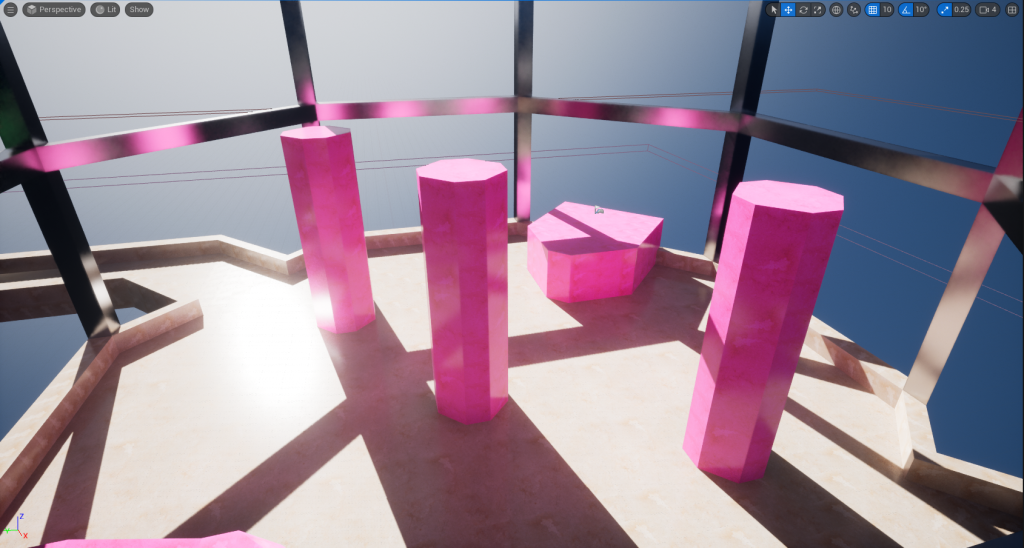
CelShader VFX
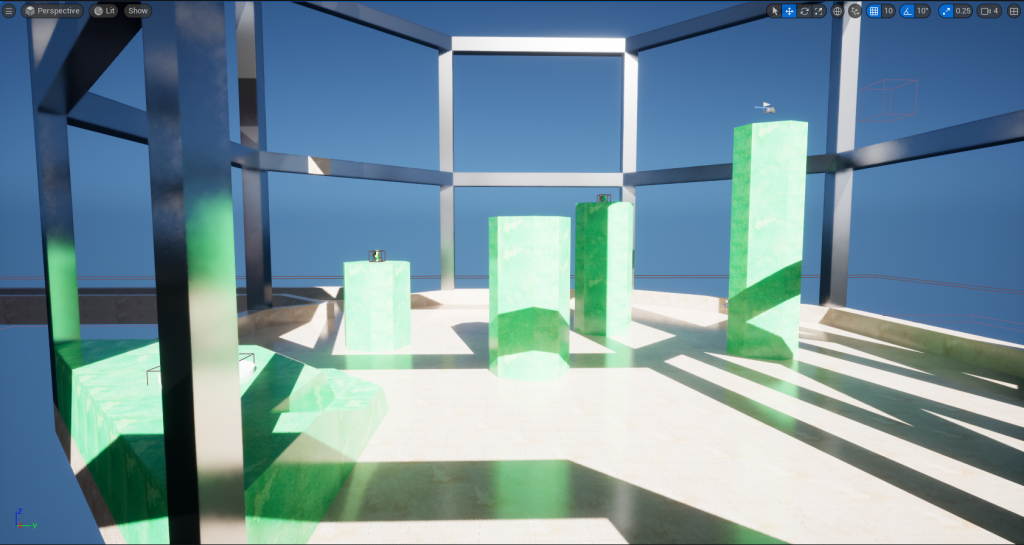
For the arena shooter, I was thinking of what art style the game should have since you’re playing as cats I was thinking it would be more child friendly so I thought a cel-shaded art style would fit the game well so I created a post-process material that would be applied to create this effect and by using a render custom depth that means it would only be applied to an object that I want it to be instead of everything. However, it didn’t end up being used in the final level as it made some objects too bright.
Celshader Being Used On A Object
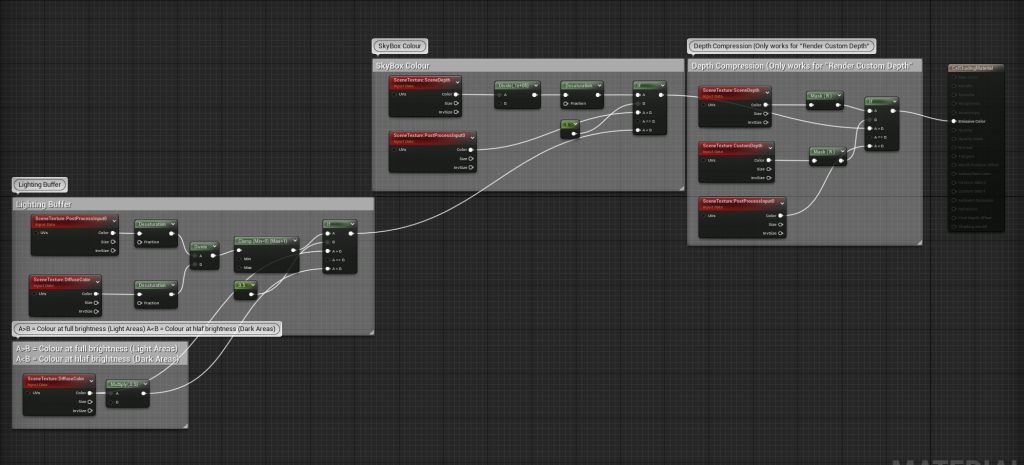
Celshader Material
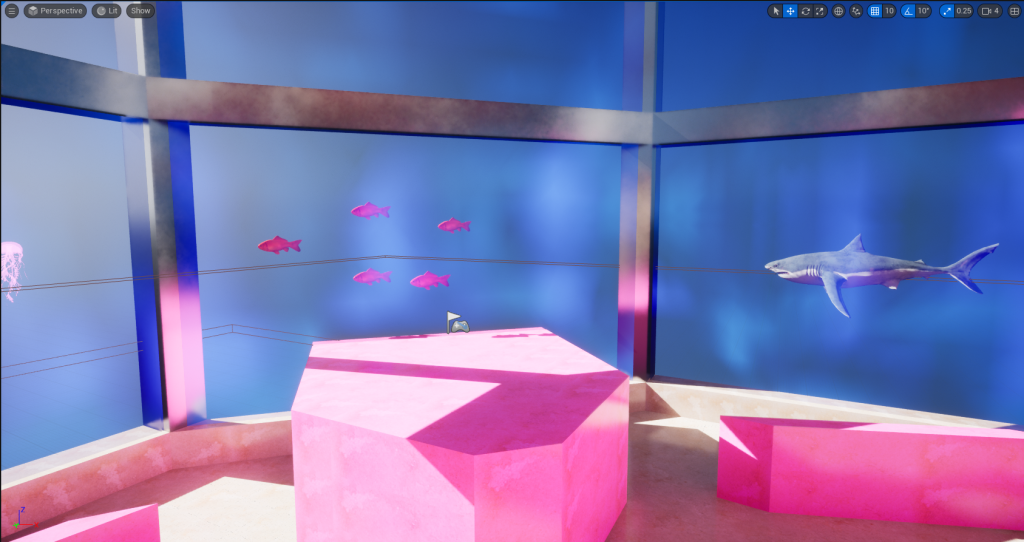
Adding Some Props Outside of the Aquarium
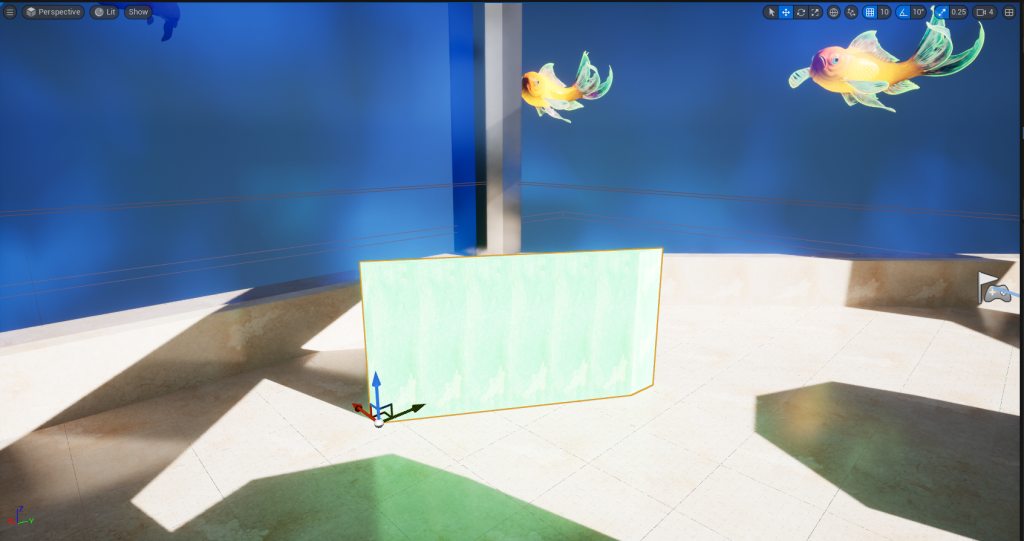
Lastly, I decided to add some fish behind the glass where the water would be and I placed them all around the level.
Video Of Gameplay
Download Link To The Game
https://drive.google.com/file/d/1vTYRmNn1iyT6aK3l1Xu7b1VudvefDHZT/view?usp=sharing