Improving the Sculpt of The Head for my Character (Week 2)
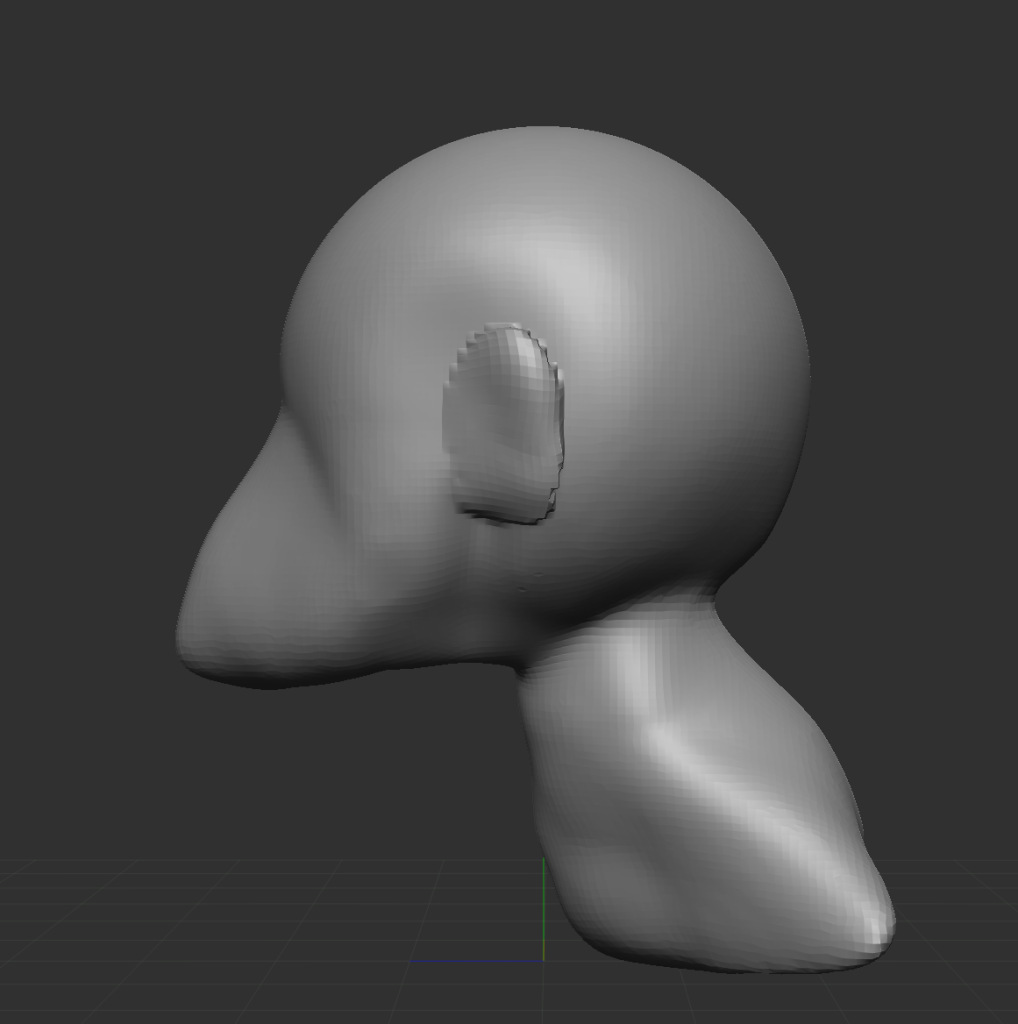
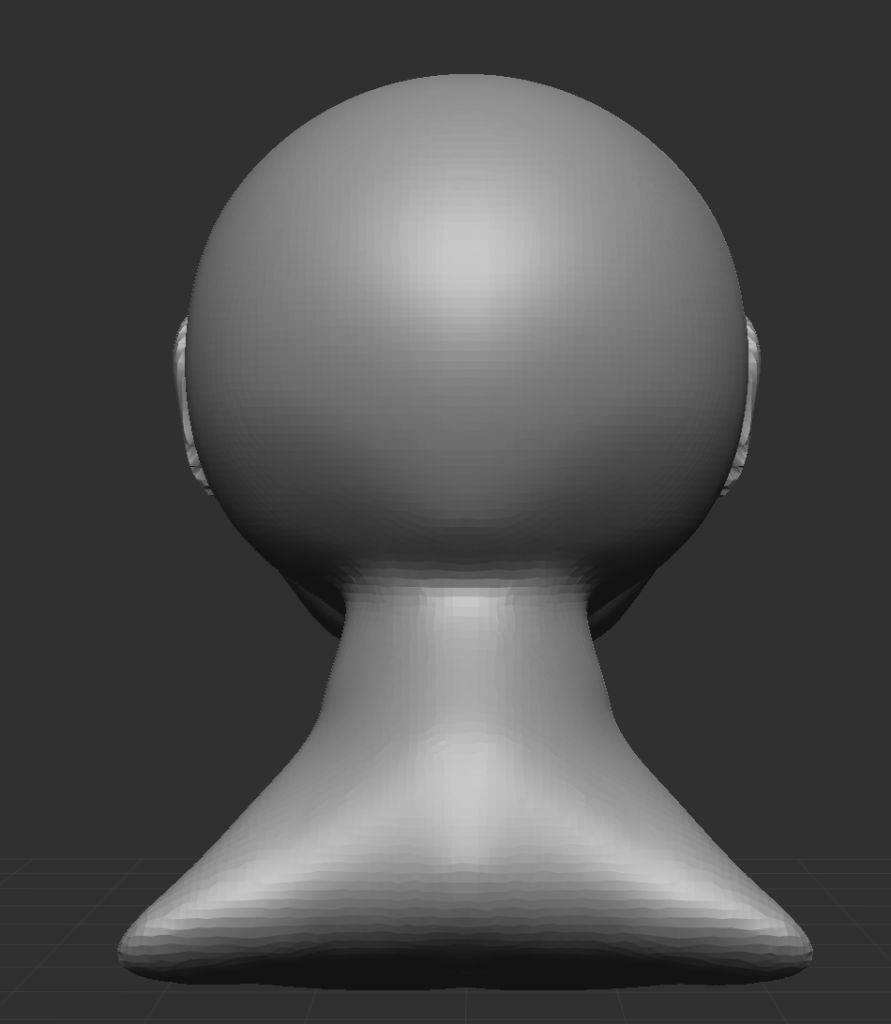
For this week, I tried improving on the sculpt of a head to make it more accurate to what a human
looks like by using the correct anatomy in ZBrush. Also, for this new model, I have included a neck and
shoulders to it. From the front view, you will notice it looks more like a head than the one I did in the
first week; however, from the side views, it doesn’t look as accurate and needs more work as the
anatomy from the sides isn’t accurate to a human head as it should be.


However, I used different tools to help me accomplish this which, include the move tool, which as the name suggests allows you to move any part of the mesh that has been selected. Also, I used the mask
tool, which can be used by pressing ctrl and shift on the keyboard and what this tool does it allows
you to draw over an area of your mesh, and the reason I used this is that it allowed me to know
where I needed to put on the head, such as the ears, the neck, etc.
However, by default, you won’t be able to edit the area that you have used the mask tool on and
to do this, you press ctrl and click anywhere outside of your model, and it will invert it and allow you
to make changes to the masked area, such as using the move tool to pull the neck out. This is
what I used this for.