Experimenting In ZBrush and Modelling a Face for a Character (Week 1)
For the first week, I was tasked with just trying to experiment in ZBrush and create something in it, and I decided to try and model a face for a human character as this would be useful since the character I am going to create will be human.
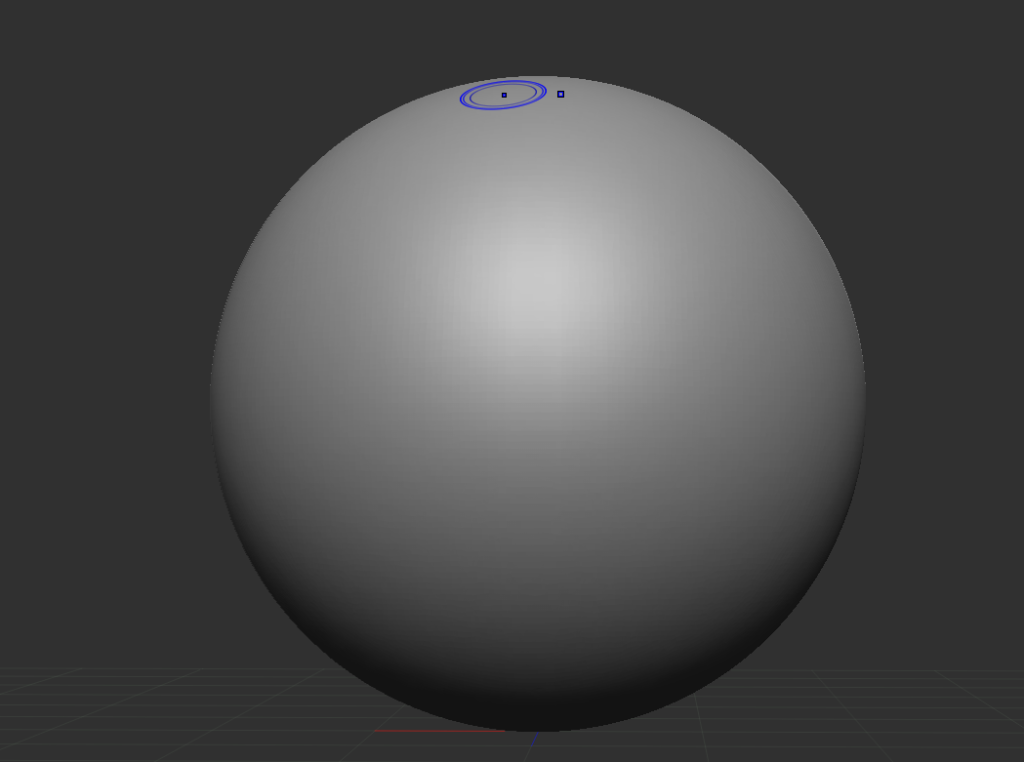
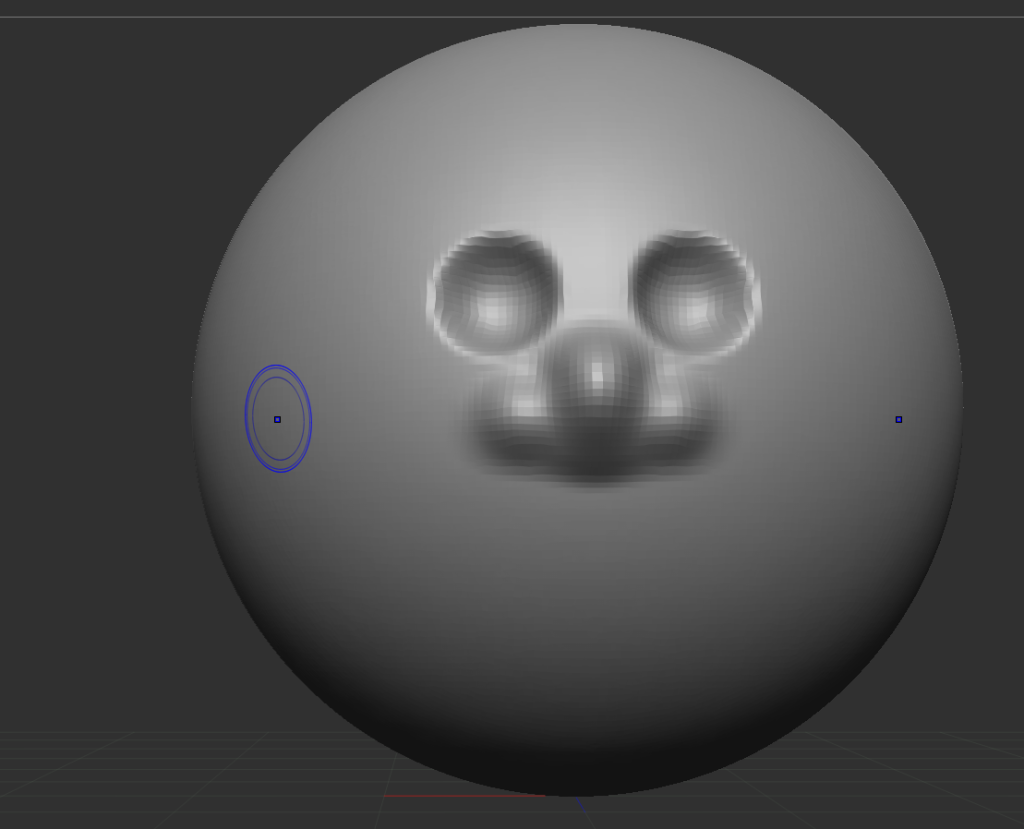
Firstly, for the base of this project, in ZBrush, I will use a sphere from the lightbox, which I will use to start creating a head for a person. Now that I have a sphere that I can use, I am going to start adding facial features to it, such as the shape of the eyes and to do this, I am going to use the standard brush and hold down the alt key as this will carve into the sphere instead of adding more volume to it. I will just be drawing small circles for the shape of the eyes.
Also, I will do the opposite for the nose as I want to add volume to the sphere as noses tend to stick out somewhat on a face. I will put the nose in between where the eyes are, and you can see what it looks like below. However, at first, I thought the nose was too small, so I adjusted it until I was happy with it.
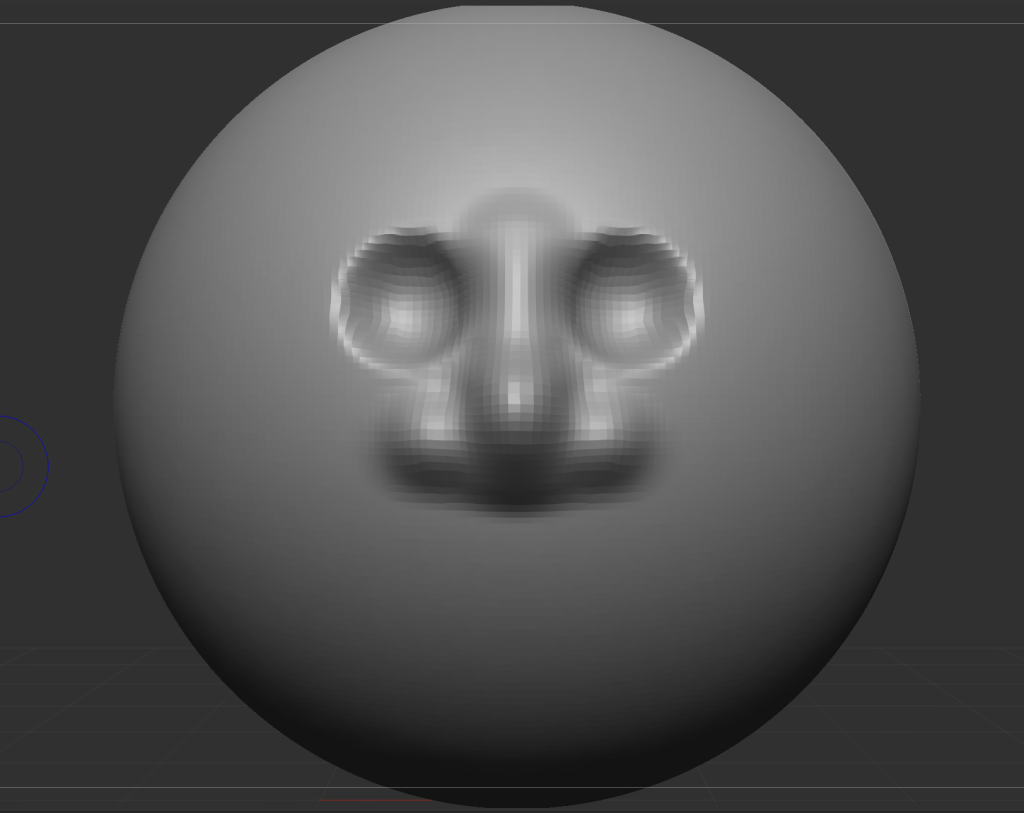
Now that I have some of the facial features on my sphere, I am going to work on the shape of it to make it look like more of a head than just a sphere with eyes & a nose on it and to do this, I am going to have to change to the move brush which allows me to adjust the shape of my sphere as dragging in with the mouse it will carve into it and dragging out with the mouse will extend that shape in the direction you are dragging it with the mouse.
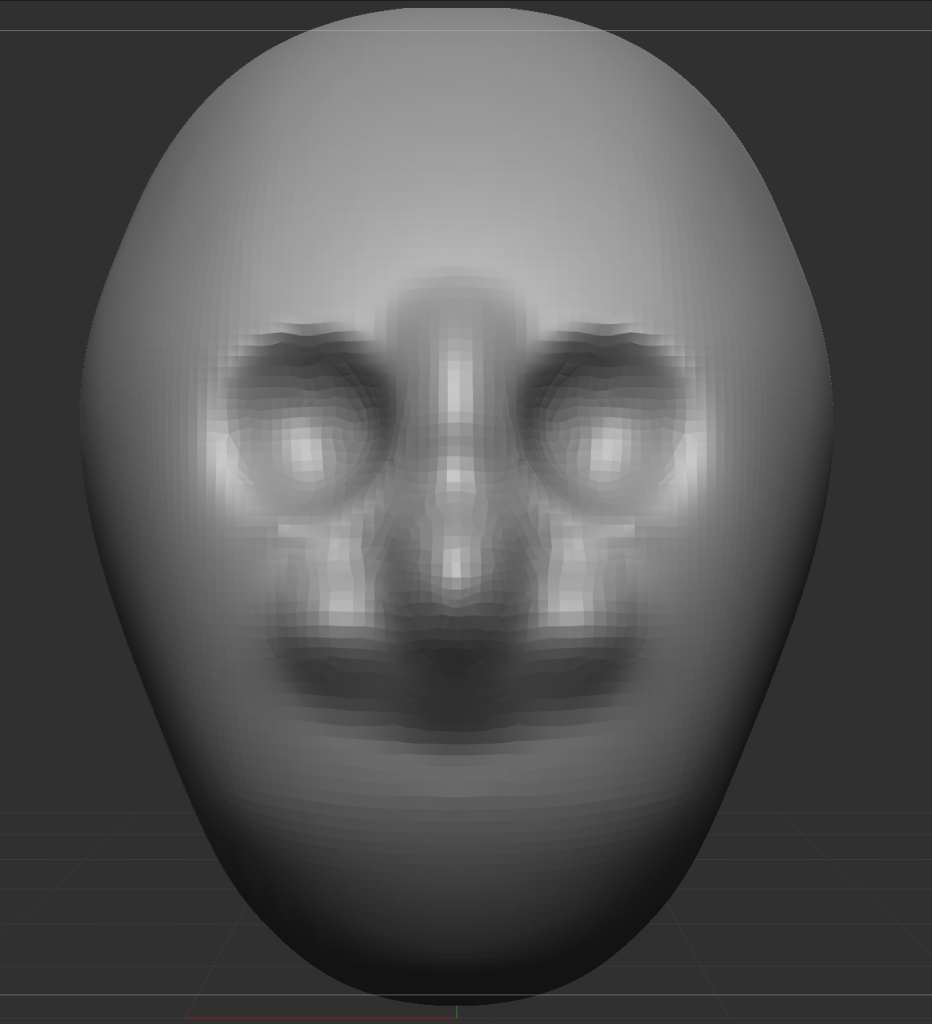
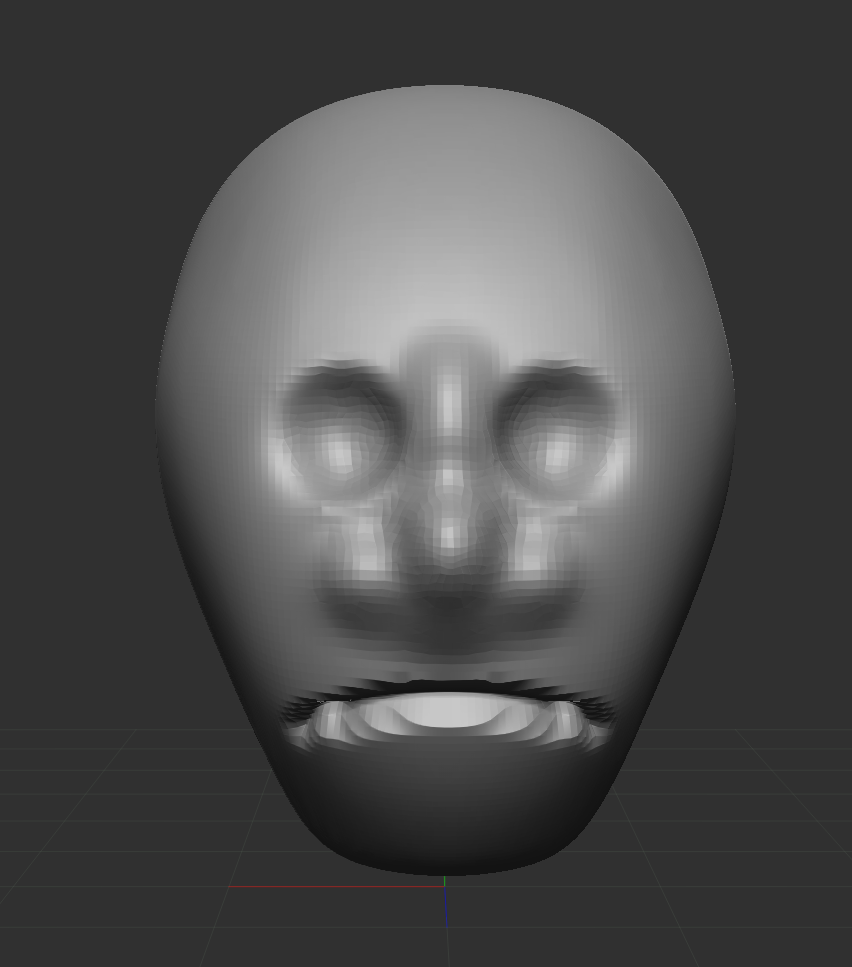
Here you can see the final shape of the head that I did after adjusting the shape after a while. Also, to improve its shape and make it more consistent and less bumpy, I used the smooth tool, which can be used by pressing the shift key and clicking on the area you want to make it smoother in appearance.
Lastly, I am going to add a mouth to the face. For this, I changed to dam standard brush as this brush allows you to carve in small details to your model, and this works perfectly for a mouth, and I used the brush you create the expression that I wanted, and in this case, I went for a sad mouth which you can see what this looks like below.