Introduction to 3D Character Design and Brief Overview of ZBrush’s User Interface
Overall, I will be covering how I came up with the initial designs for my character and how I translated those designs to be made into a 3D model that I am going to make. I will show how I created a model and which tools I used in ZBrush to accomplish this.
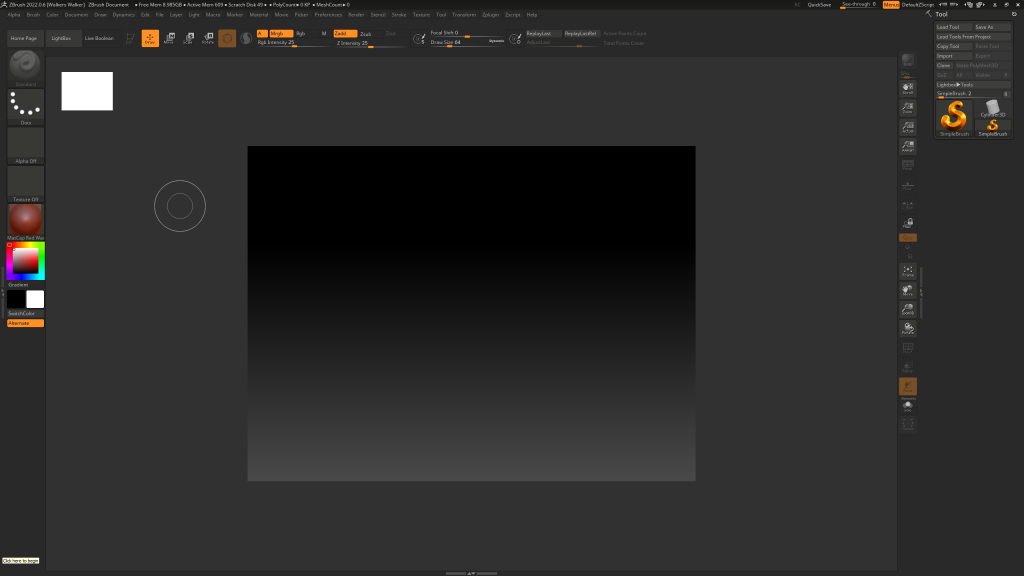
When you first open up ZBrush, you will be presented with this screen, and this is a blank project which can do anything in the middle of the screen. That is where anything you start to add or draw with the brushes will also appear. ZBrush includes a lot of templates that you can use. These appear in the lightbox, and this opens by default when you open the program, and it can be accessed at any time at the top of the UI.
Tools Section of the UI
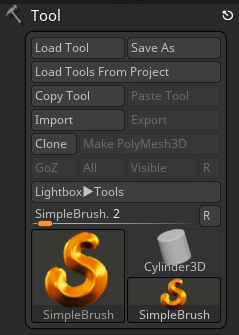
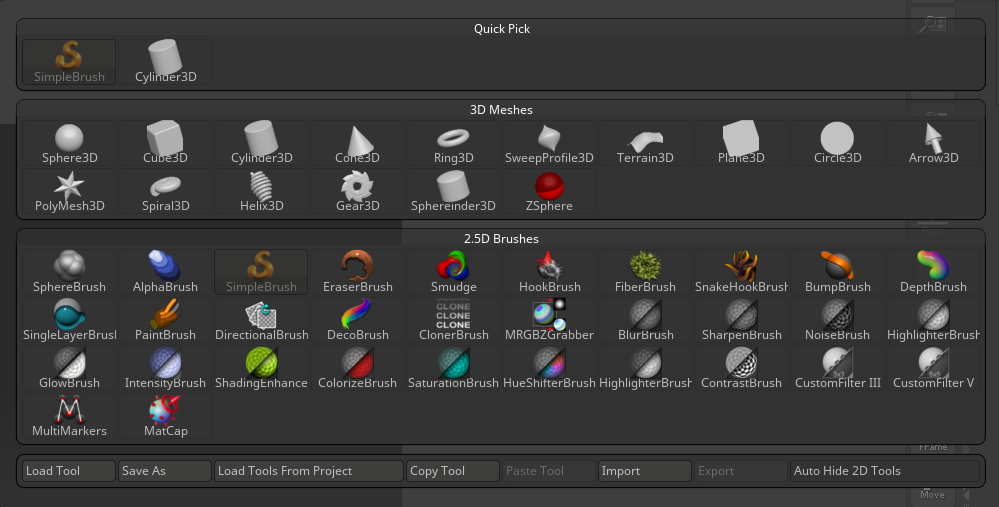
On the right side of the screen, you will see the tools section, and this allows you to select 3D meshes that you might want to use in your project. These meshes include shapes such as spheres, cubes etc. By default, you will be on the simple brush also, there are 2.5 brushes which are different from the meshes as they are objects that look 3D but are 2D however I won’t be using those.
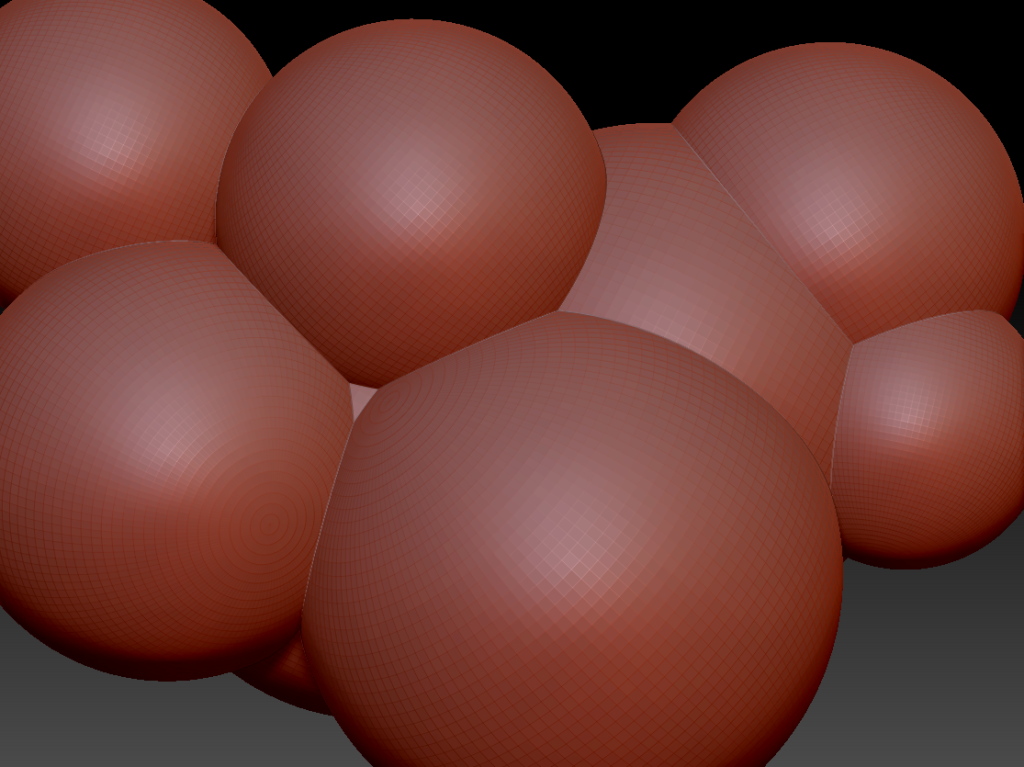
Depending on the mesh that you have chosen, it will draw that object into your project. As you can see down below, I have added a lot of spheres; however, at the moment, I will only be able to draw spheres and not do anything else with them, and this is because, at the top of the UI, you will notice that draw is selected.
Draw, Edit, Move, Scale & Rotate Tools
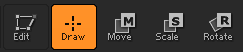
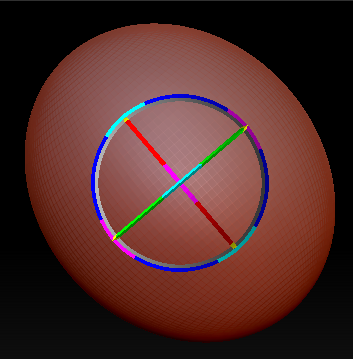
All these tools perform different functions, as the move tool allows you to move your model anywhere in your project. The scale tools allow you to scale your model to any size that you would like, and in the middle of your object, you will notice there will be a circle, and this determines which direction it will adjust the size of the model if I move it in the right direction it will scale the model that way.
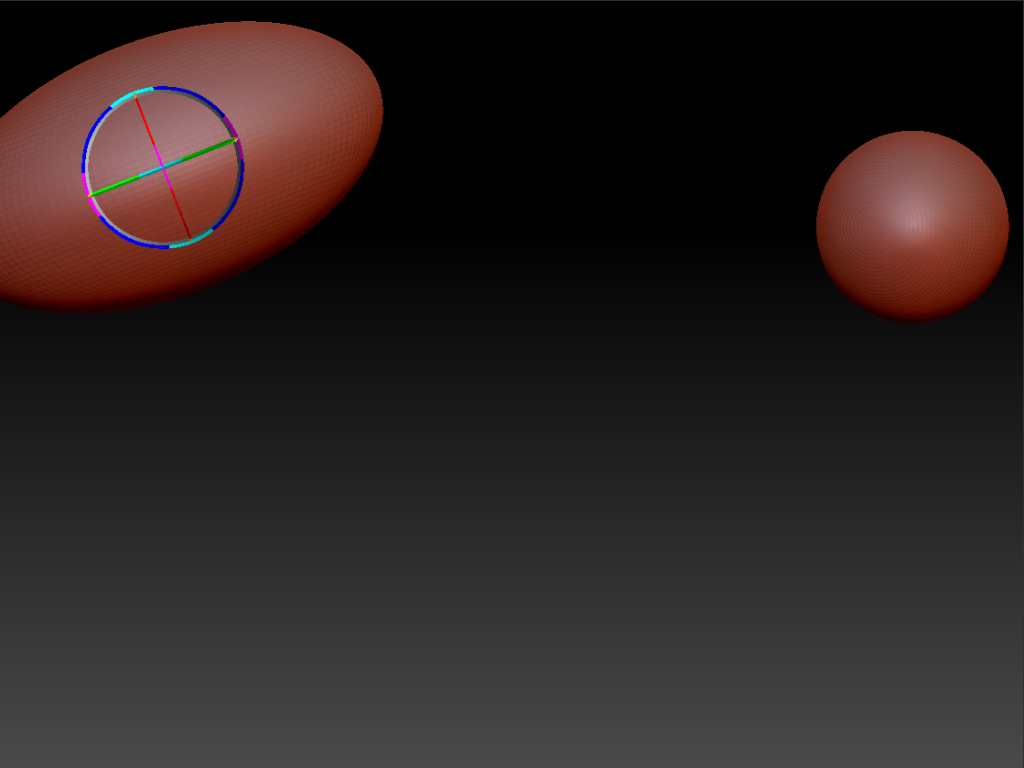
The rotate tool, as the name suggests, will around you to rotate the model in any direction that you would like, and similar to the scale tool a circle will appear in the centre of your model, and if you move your mouse where the circle it will allow you to move your model and let you pick how you want to rotate it also the edit tool will select the last thing that you had made in ZBrush, and this will allow you to move it around and allow you to make various other changes to it.
Perspective Distortion & Floor Grid
At the moment, it can be hard to see where exactly you are looking in your project and to fix this, you can use the perspective distortion tool, and the floor grid, which can be found on the right side of the screen near the tools sections and what these options do are that the floor grid as the name suggests will make a grid appear on the floor in your project, and this can help you see what angle you are looking at your model at.
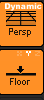
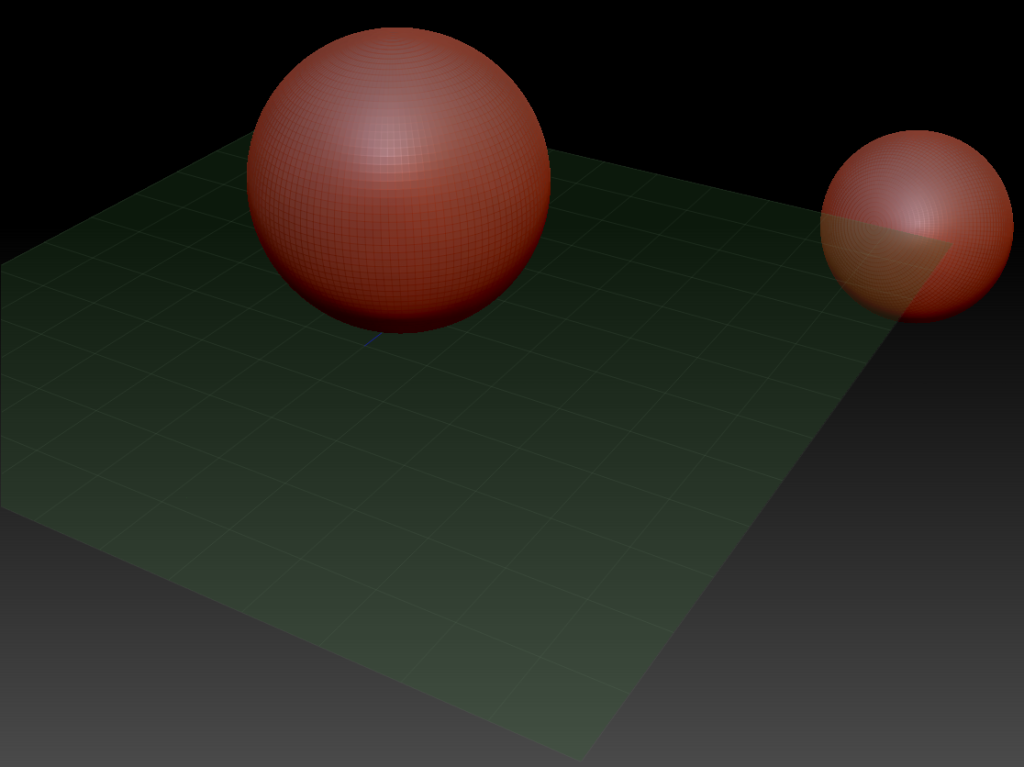
And perspective distortion, as the name suggests, will distort the current perspective of your model and the reason you might want to use this is that it will make it more accurate to how it would look from an angle that you moved the camera to by changing the perspective of the camera to reflect how it would look if you were looking at it in real life.
Changing the Brush Size & RGB

At the top of the UI, they are more options which allow you to change various properties such as the draw size of your brush which allows you to add stuff of a bigger size by default into your project also at the top you will notice buttons relating to rgb will allow you change stuff relating to RGB values when you start to texture your model the default one is just RGB however there are other options which are mrgb which combines RGB values with a material that you have added to your model and lastly there is an option for just the material by itself.
Zadd & Zsub
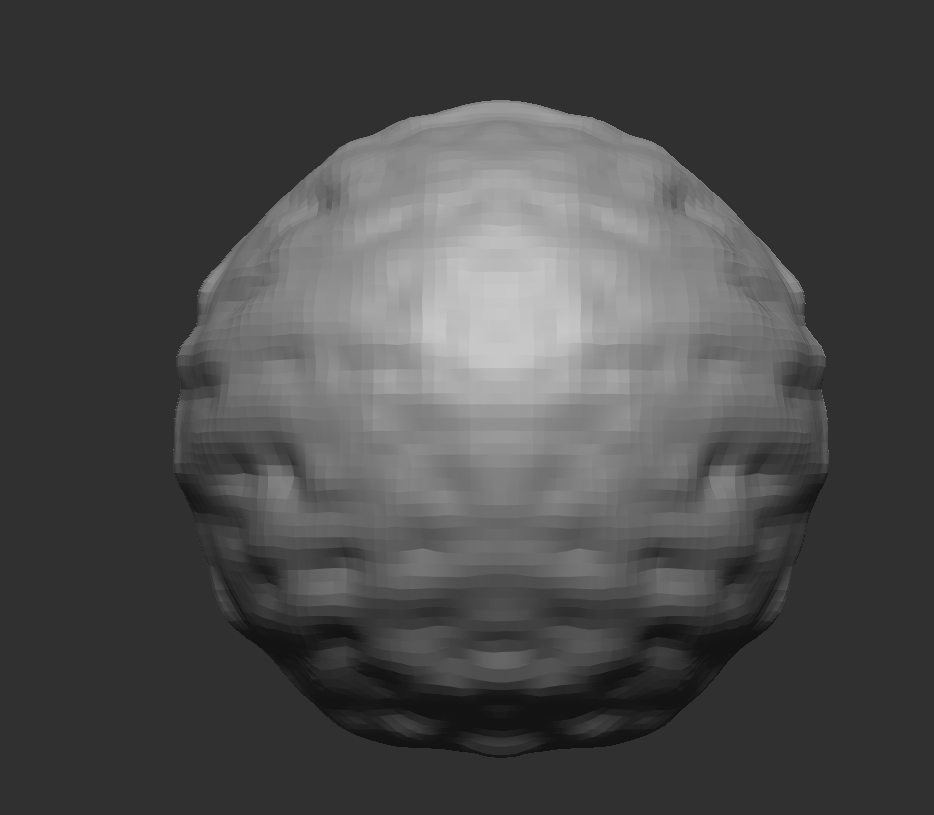

By default, it will be on zadd which will add stuff onto the top of the model you have selected and zsub will do the opposite as it will take away stuff on your model and allow you to carve into it basically one is for addition and for it subtracting away from your model.
Brushes
On the left side of the screen, you will notice sections will allow us to change stuff relating to the current brushes you are using, such as the type of brush you are using, the stroke type of that brush, add textures to that brush or material to it and lastly change the colour that the brush is.
