Creating My Shuriken in Maya
Now, that I have picked the concept I am going to use for my hero piece which is a Shuriken and I am going to show the process of how I created the 3D model for my Shuriken in Maya, firstly I will be using a square as the basis for my shuriken and the reason I am doing it this way instead of creating a triangle and duplicating it is that with a square it is easier and what I mean by this is that I can pull out the edges of the square to get the desired shape that I want.
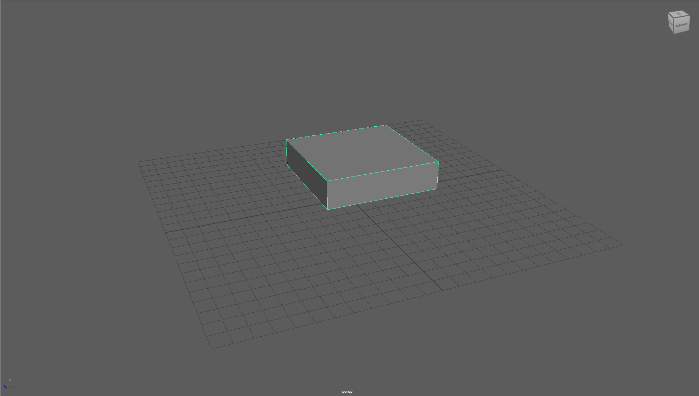
Also, when creating my Shuriken, I used the snap to grid and the interactive creation options and the reason I used these options is it makes it easier when creating a 3D model in Maya because the snap to grid will make any object you make snap to the grid which is turned on by default in Maya.
The interactive creation option allows you to adjust the height of any object in Maya by dragging it up with your mouse so this makes sizing of any object, and this makes it easier to make an object the size that you want it to be.
Now that I created the square for my shuriken, I need to change the subdivision width and depth from 1 to 2 because this will give me an extra edge on the object to pull from which will allow me to create the shape of a shuriken.
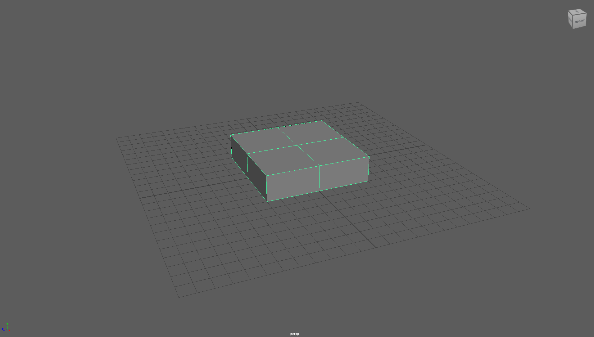

Now I am going to pull out one of these edges and to do this I select one of the edges on the square by changing the object to edge mode by bringing up the radial menu and I will keep on dragging the edge until I get the shape that I want and to make sure that all of the edges will end up being the same sizes when I drag them out I will drag them out until it reaches the coordinate of 12 on each side and in the bottom corner of the UI you can see the coordinate of where I have dragged the edge out to.

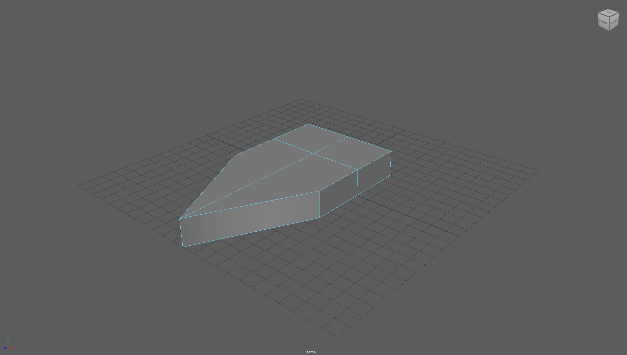
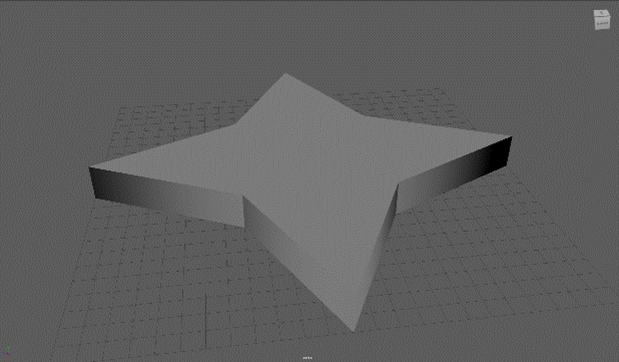
The next thing I need to do is merge the two vertices together where currently the edges are because on a real shuriken there aren’t edges in those places instead there are vertices and to do this, I bring up the radial menu to select the vertex option and select the two vertices that I want to merge together and click on the merge vertices which is at the top of the UI.
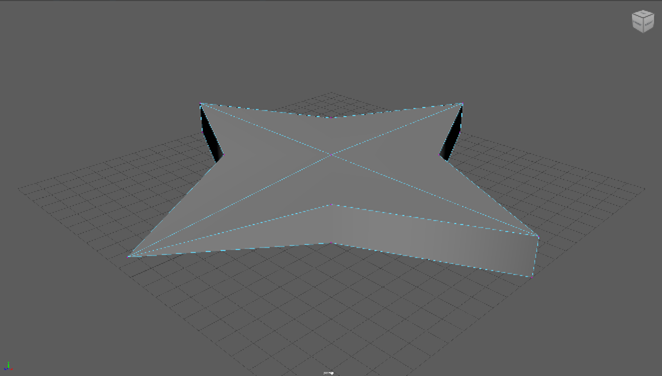
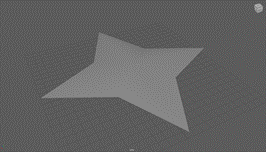
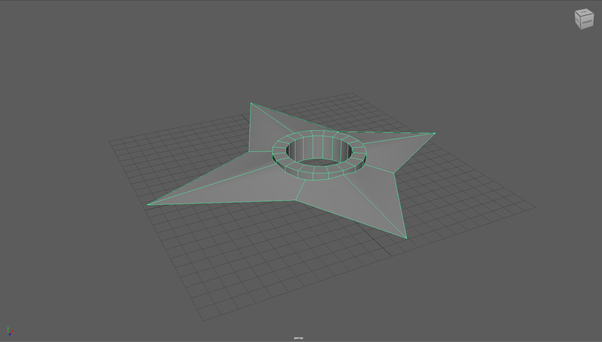
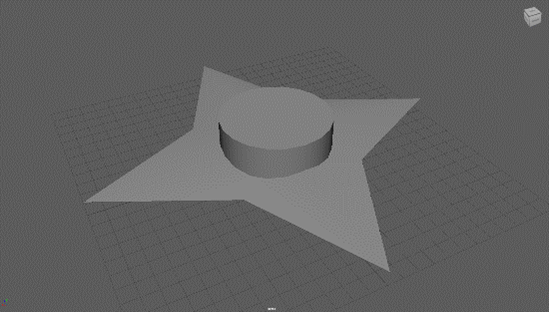
Now that I have merged all the vertices together you can see that the shape looks more like a shuriken now all I need to do is put a hole in the middle of the shuriken and it will be complete and to do that I will create a cylinder and I need to make it large enough so it can cut threw the shape of the shuriken and to do this I will use the channel box to manually change the size of the cylinder so it will be large enough.
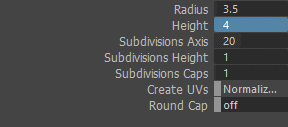
Also, I need to create a pipe as well because this will fit in the hole I am going to create as the cylinder I have created will act as a drill to make a pipe I use the pipe tool and it makes it around the same size of the cylinder I have created and the pipe needs to be the same height of the shuriken which is 4 so I change the height of the pipe in the channel box.
Then all I need to do now is cut the hole into the shuriken and to do this firstly I need to place the cylinder where I want to make the hole and, in this case, this will be the centre of the shuriken and in the outliner, I am going to select the shuriken and the cylinder.
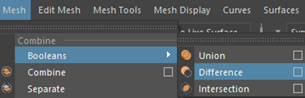
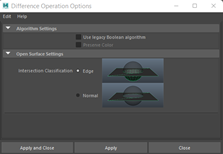
Then I will select the mesh option and click on the different option which is the Boolean section, and this will open a new window that will allow me to decide how the object will be cut and I am going to use the legacy algorithm, and this will cut the object where I want it to.
Now, there is a hole in the middle of the shuriken and the last thing I need to do is to place the pipe in the middle of the hole this can be done by using the move tool and I will merge the two objects by going to mesh option and selecting the combine option and below you can see what the finished shuriken looks like.